Have you ever looked at your backyard and though about just how many fantastic natural crafting resources it provides you with? I actually find myself thinking about this concept quite often, especially when I take walks with my kids down by the river in the park near our house. Between the twigs, leaves, flowers, and rocks that are all around, the great outdoors is practically just trying to hand us lovely (if slightly unconventional) things to make all kinds of nature-inspired DIY projects with. Recently, my kids got very excited indeed about collecting their favourite pebbles down by the water and they came home with pockets full of pretty little stones that they just couldn’t bear to leave behind.
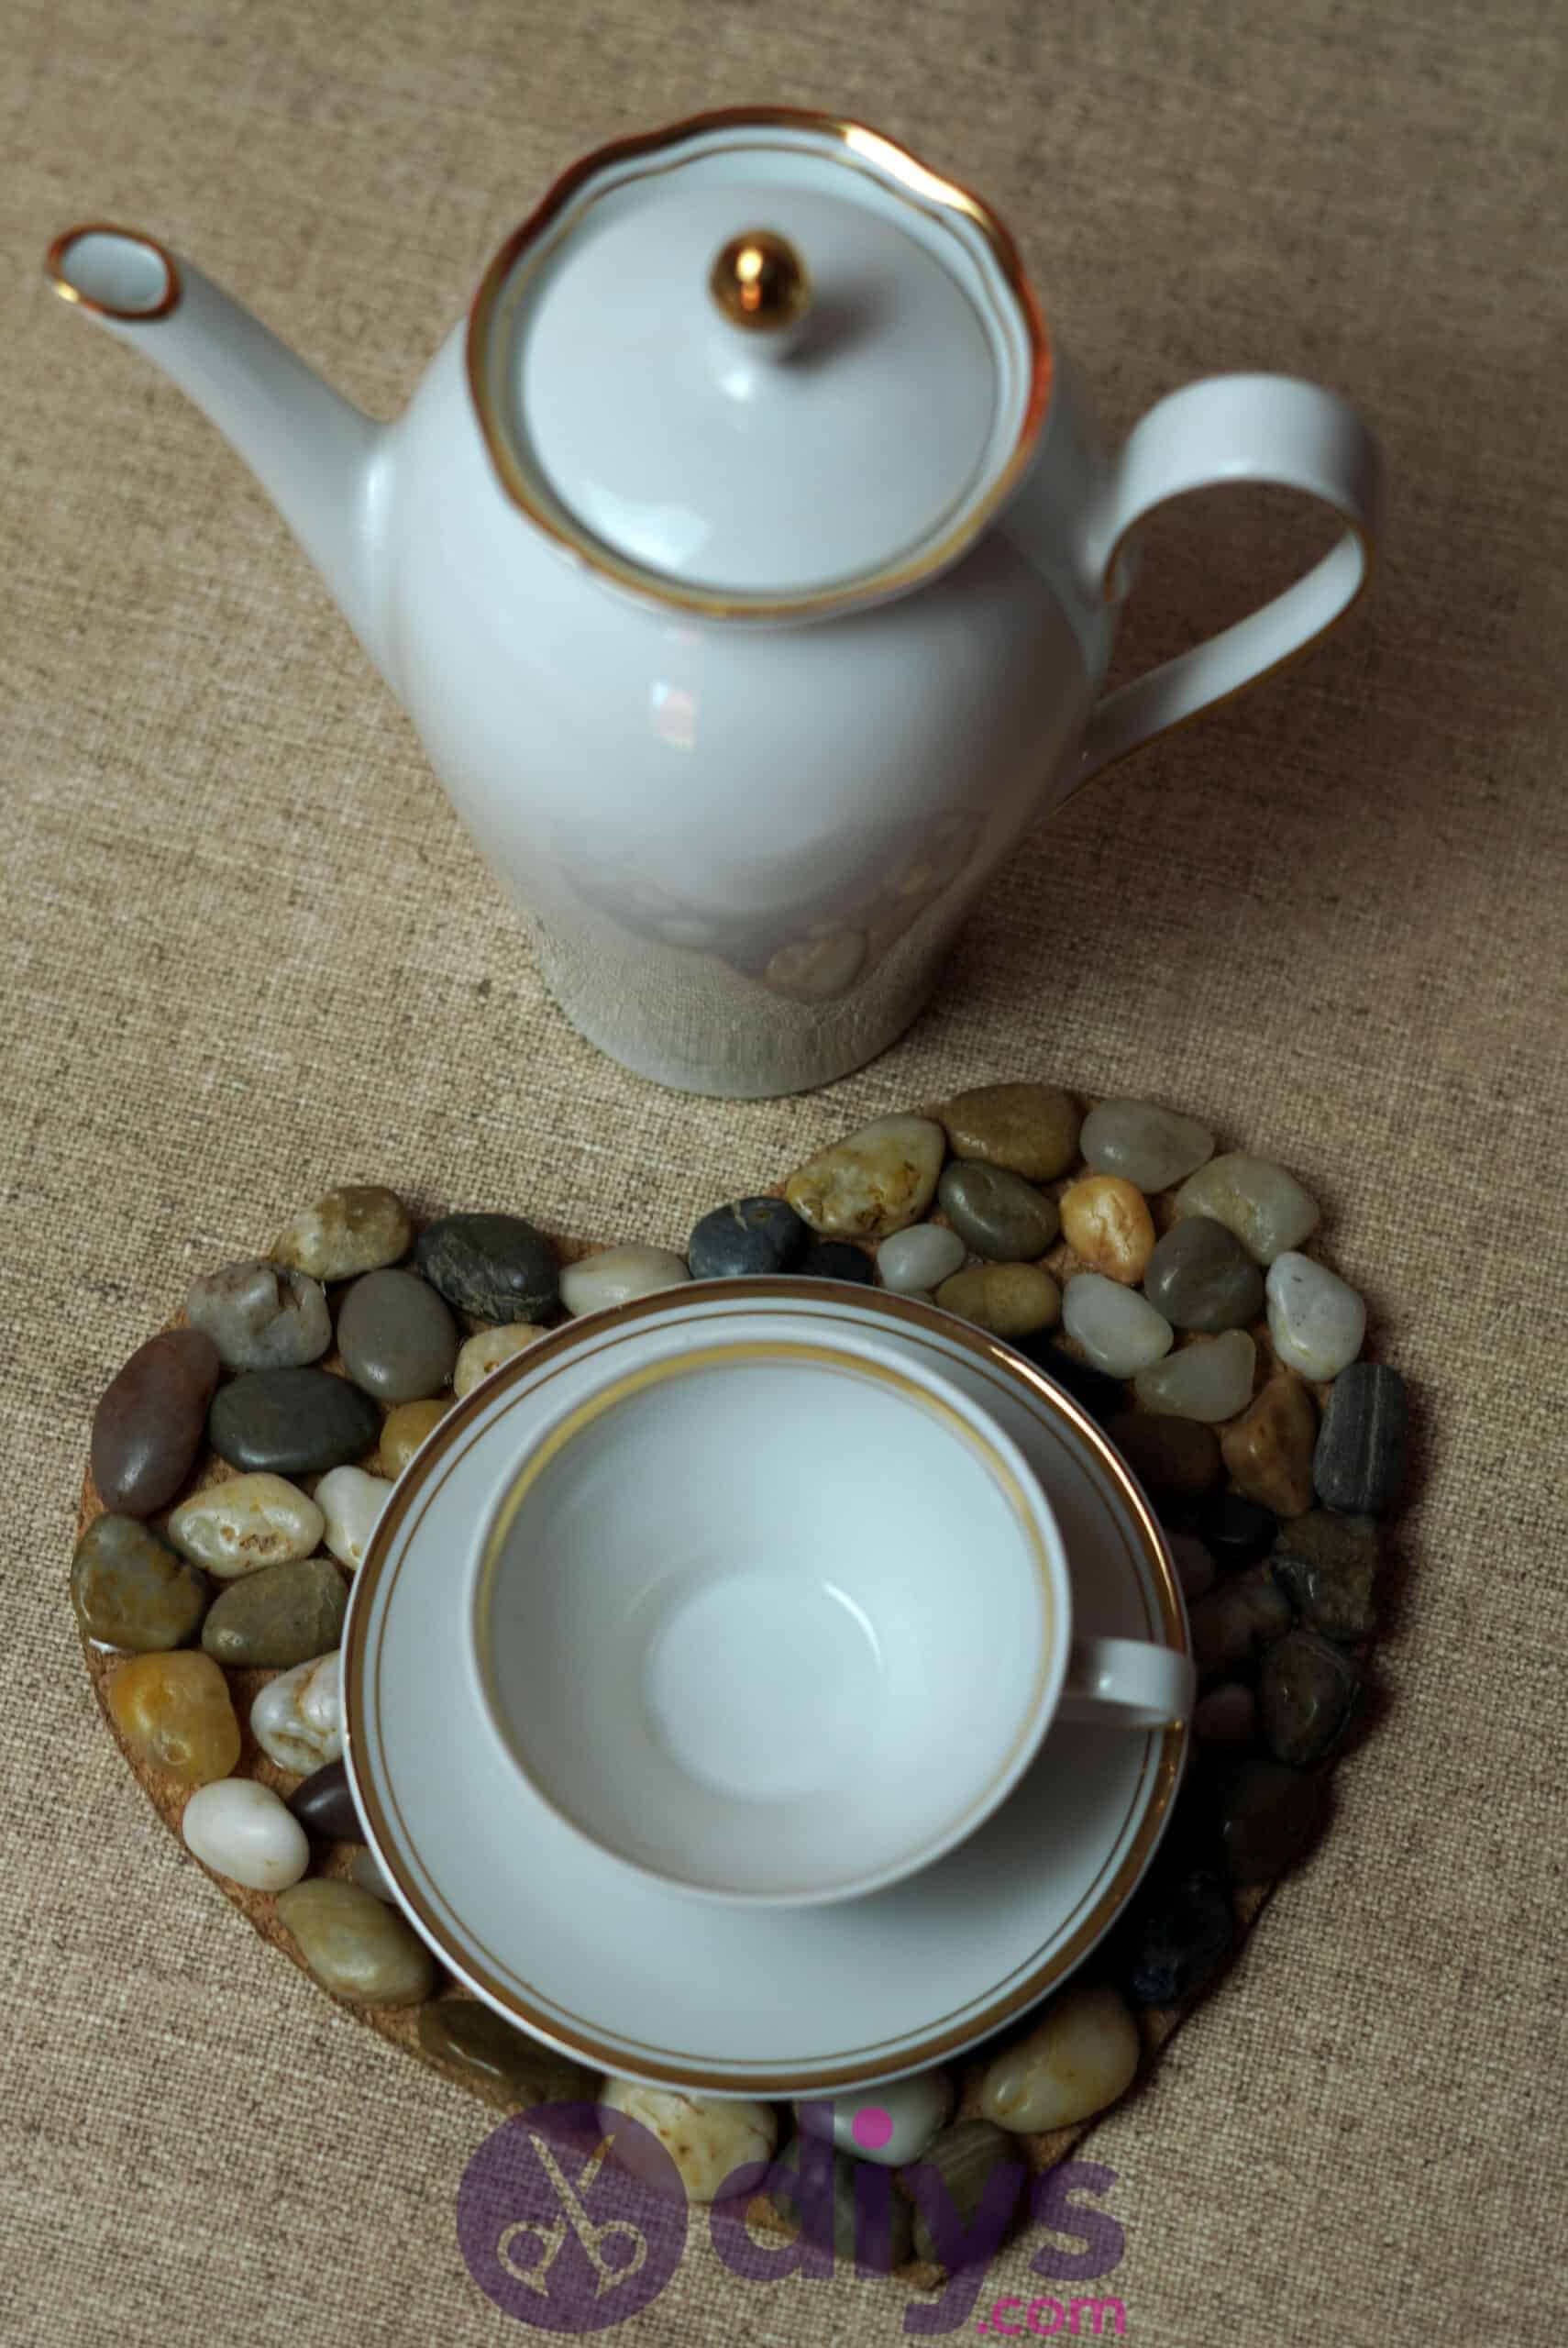
Being the crafty parent I am, I was intent on finding a way to put their collection to good creative use. That’s how this cute heart-shaped pebble plate came to be! I found myself wishing I had some kind of trivet to cover counter and tabletops with at tea time and I saw an opportunity that would be fun for the kids and me to do, and also aesthetically quite lovely.
I’ve always been a fan of watching other people’s crafting tutorials, so I decided to make one myself as we went through the steps of creating this piece. I just really enjoy the idea of being able to share our crafting process with other people who might want to try the idea out for themselves. Check out these step by step instructions complete with photos! If you’d rather follow along with a video tutorial instead of written words, scroll to the bottom of this post to find just what you’re looking for.
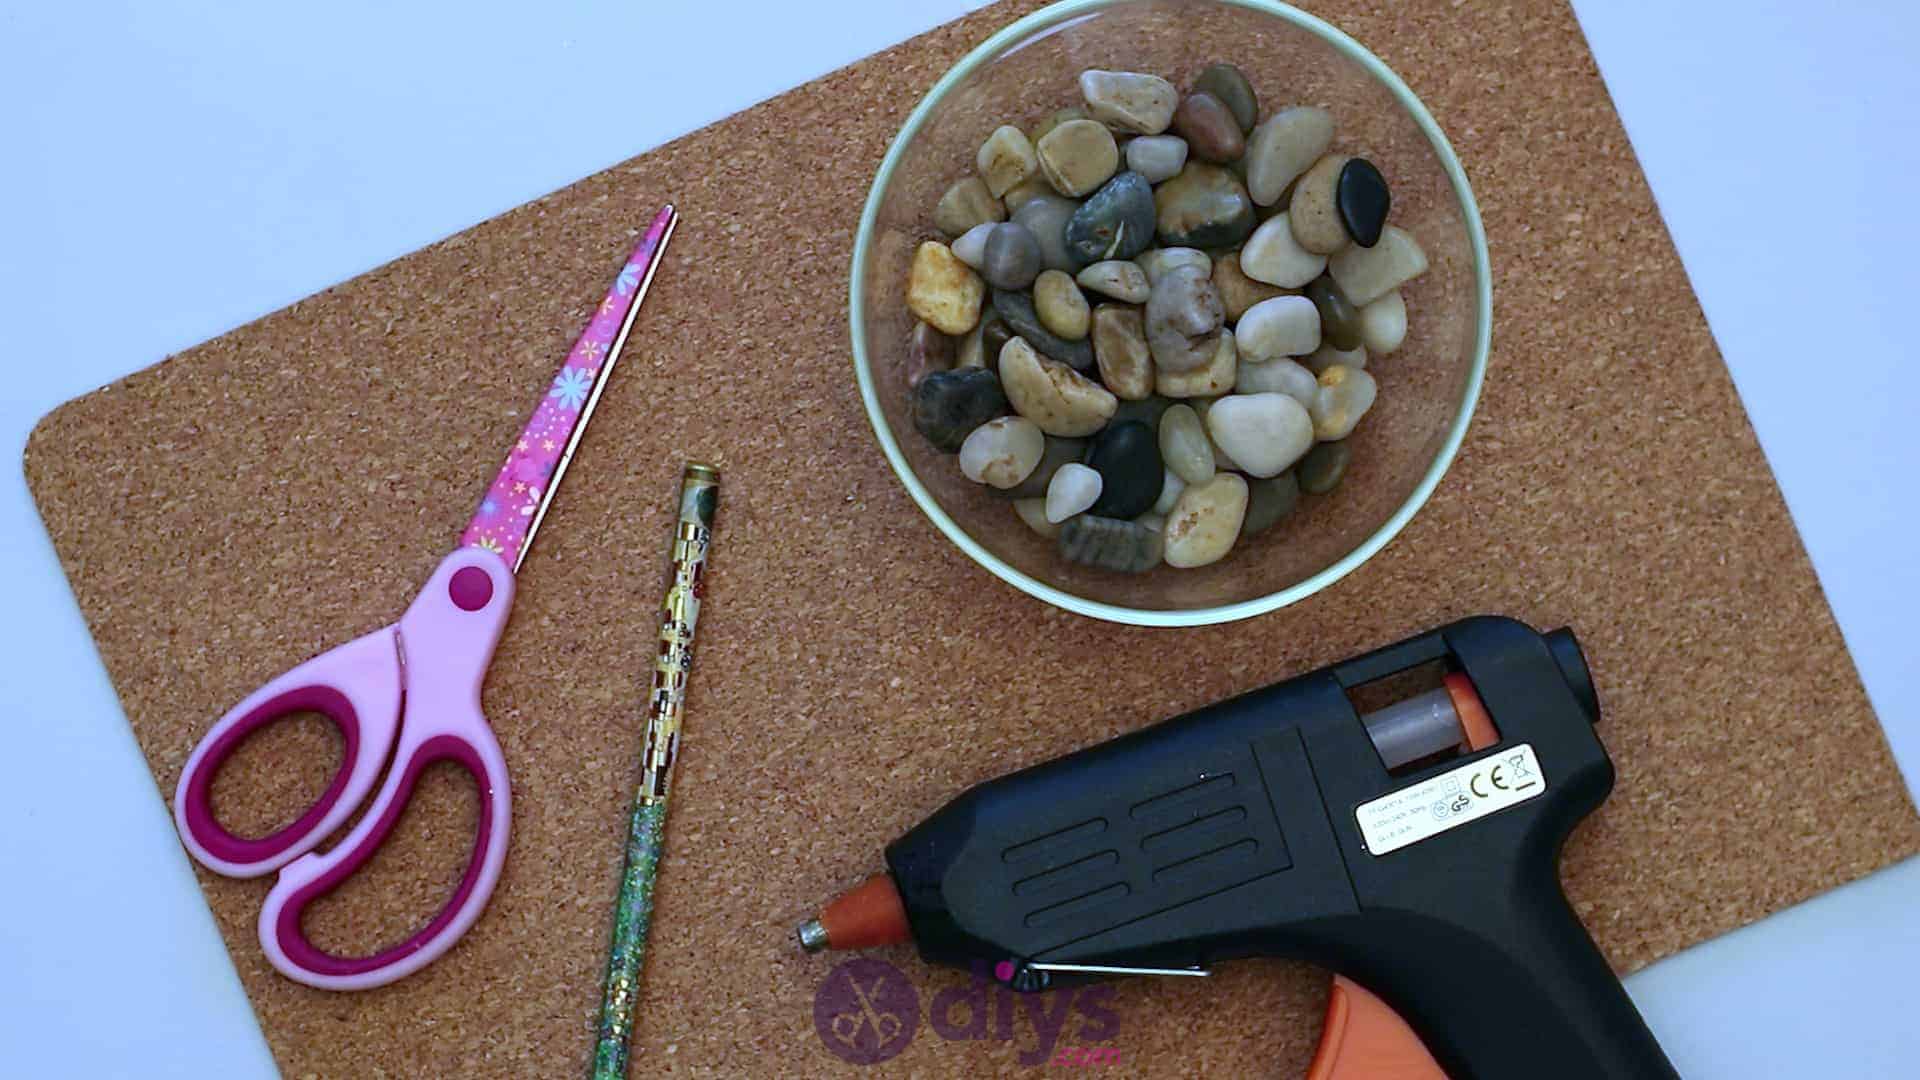
For this project, you’ll need:
- Corkboard
- Pencil
- Scissors
- Hot glue
- Pebbles
Step 1:
Gather your materials!
Step 2:
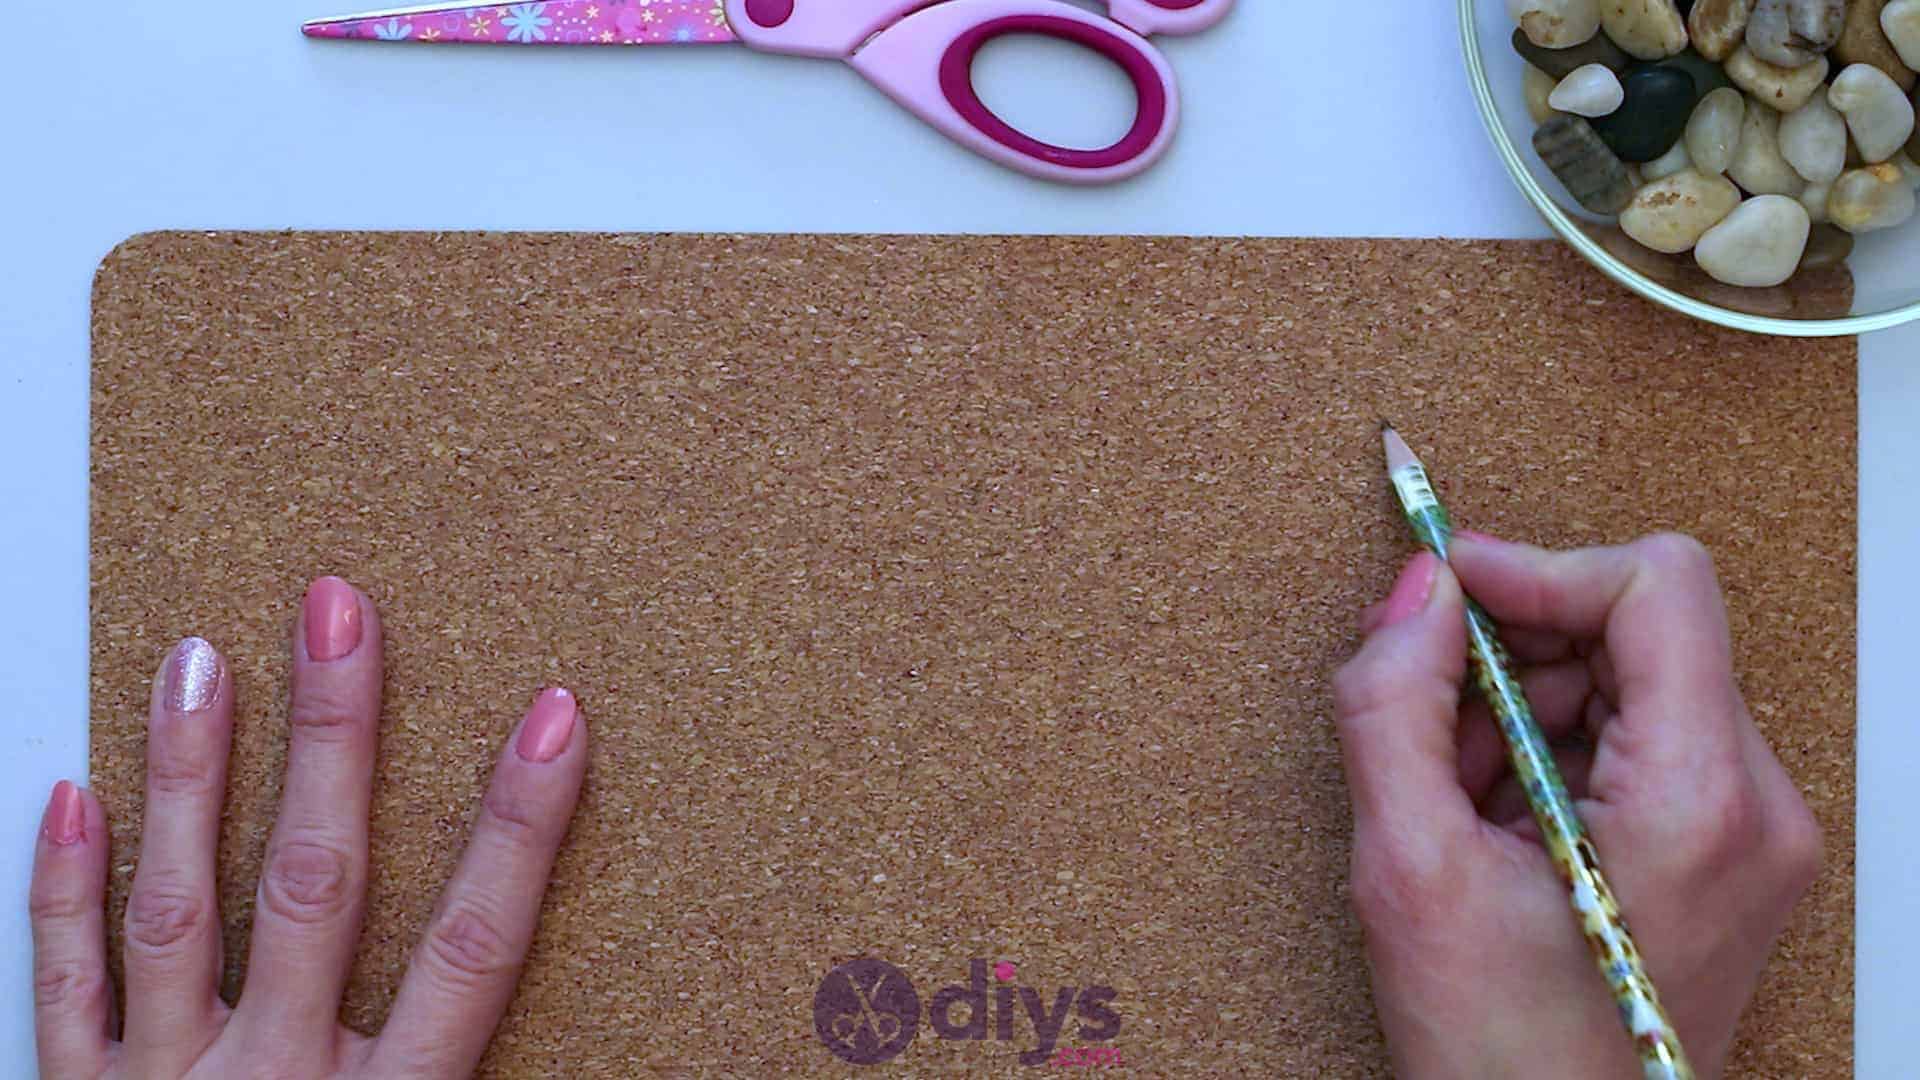
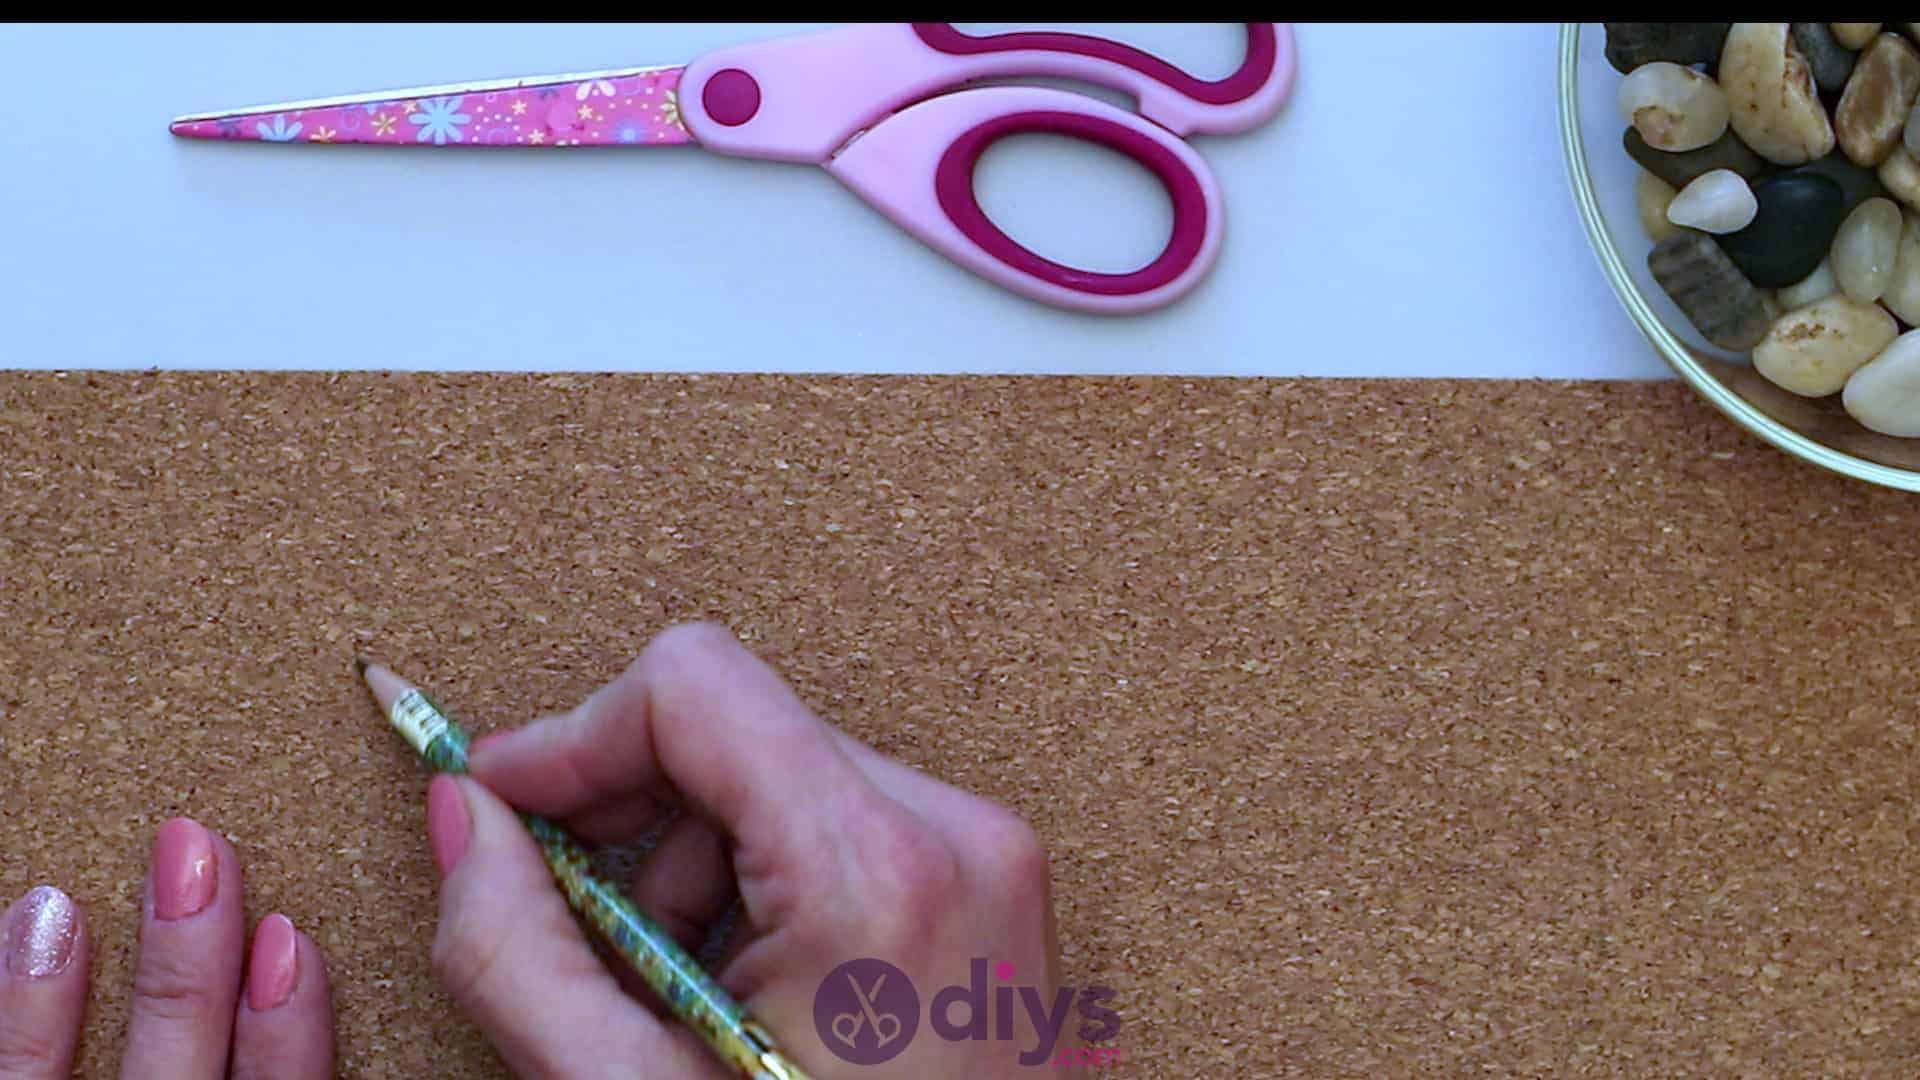
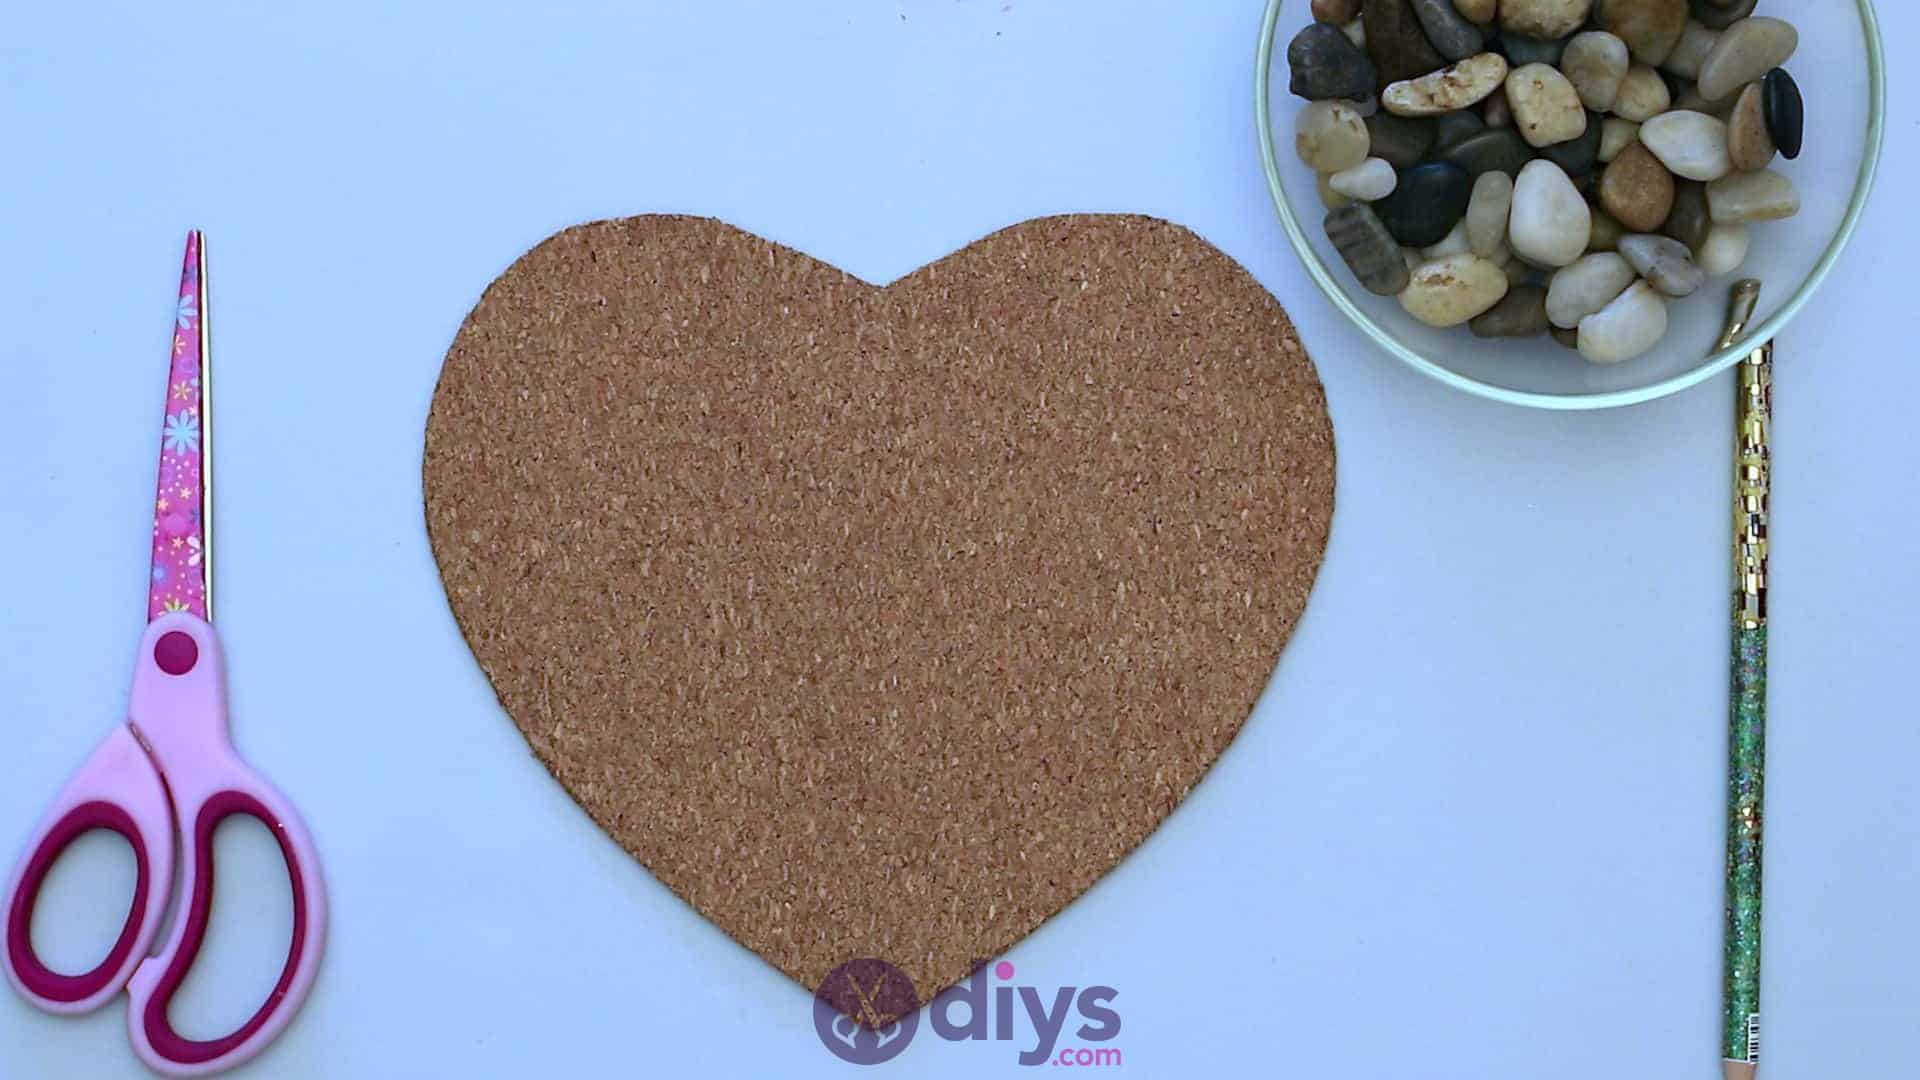
Use your pencil to sketch out the outlined shape of your heart on your piece of corkboard. Make it as small or large as you pleased based on what you plan to use the underplate for. Because I wanted to be able to set either my teacup and saucer or my teapot on it, I decided to make it larger than a coaster, but still quite cute and small, rather than being quite the size of a full pot trivet. Once you’ve sketched out the shape and you’re happy with its size and dimensions, use your scissors to cut the heart out.
Step 3:
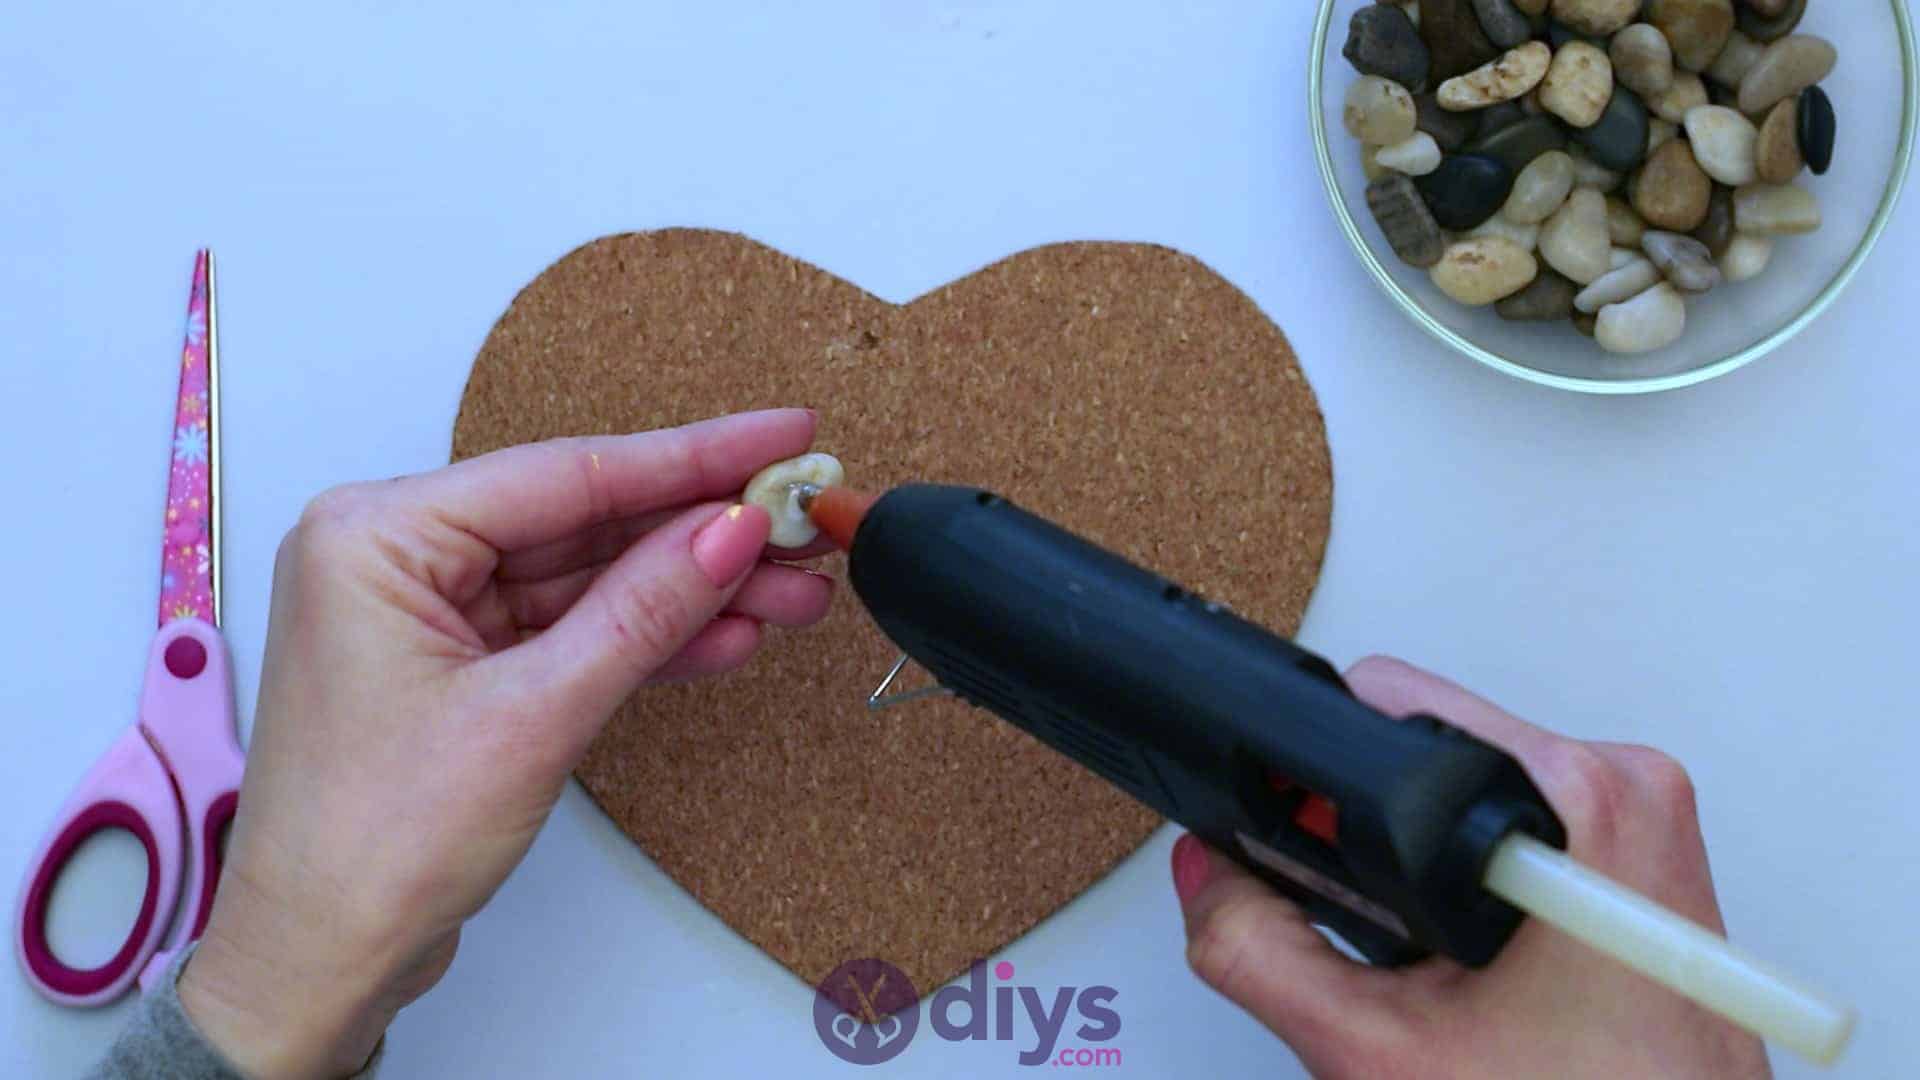
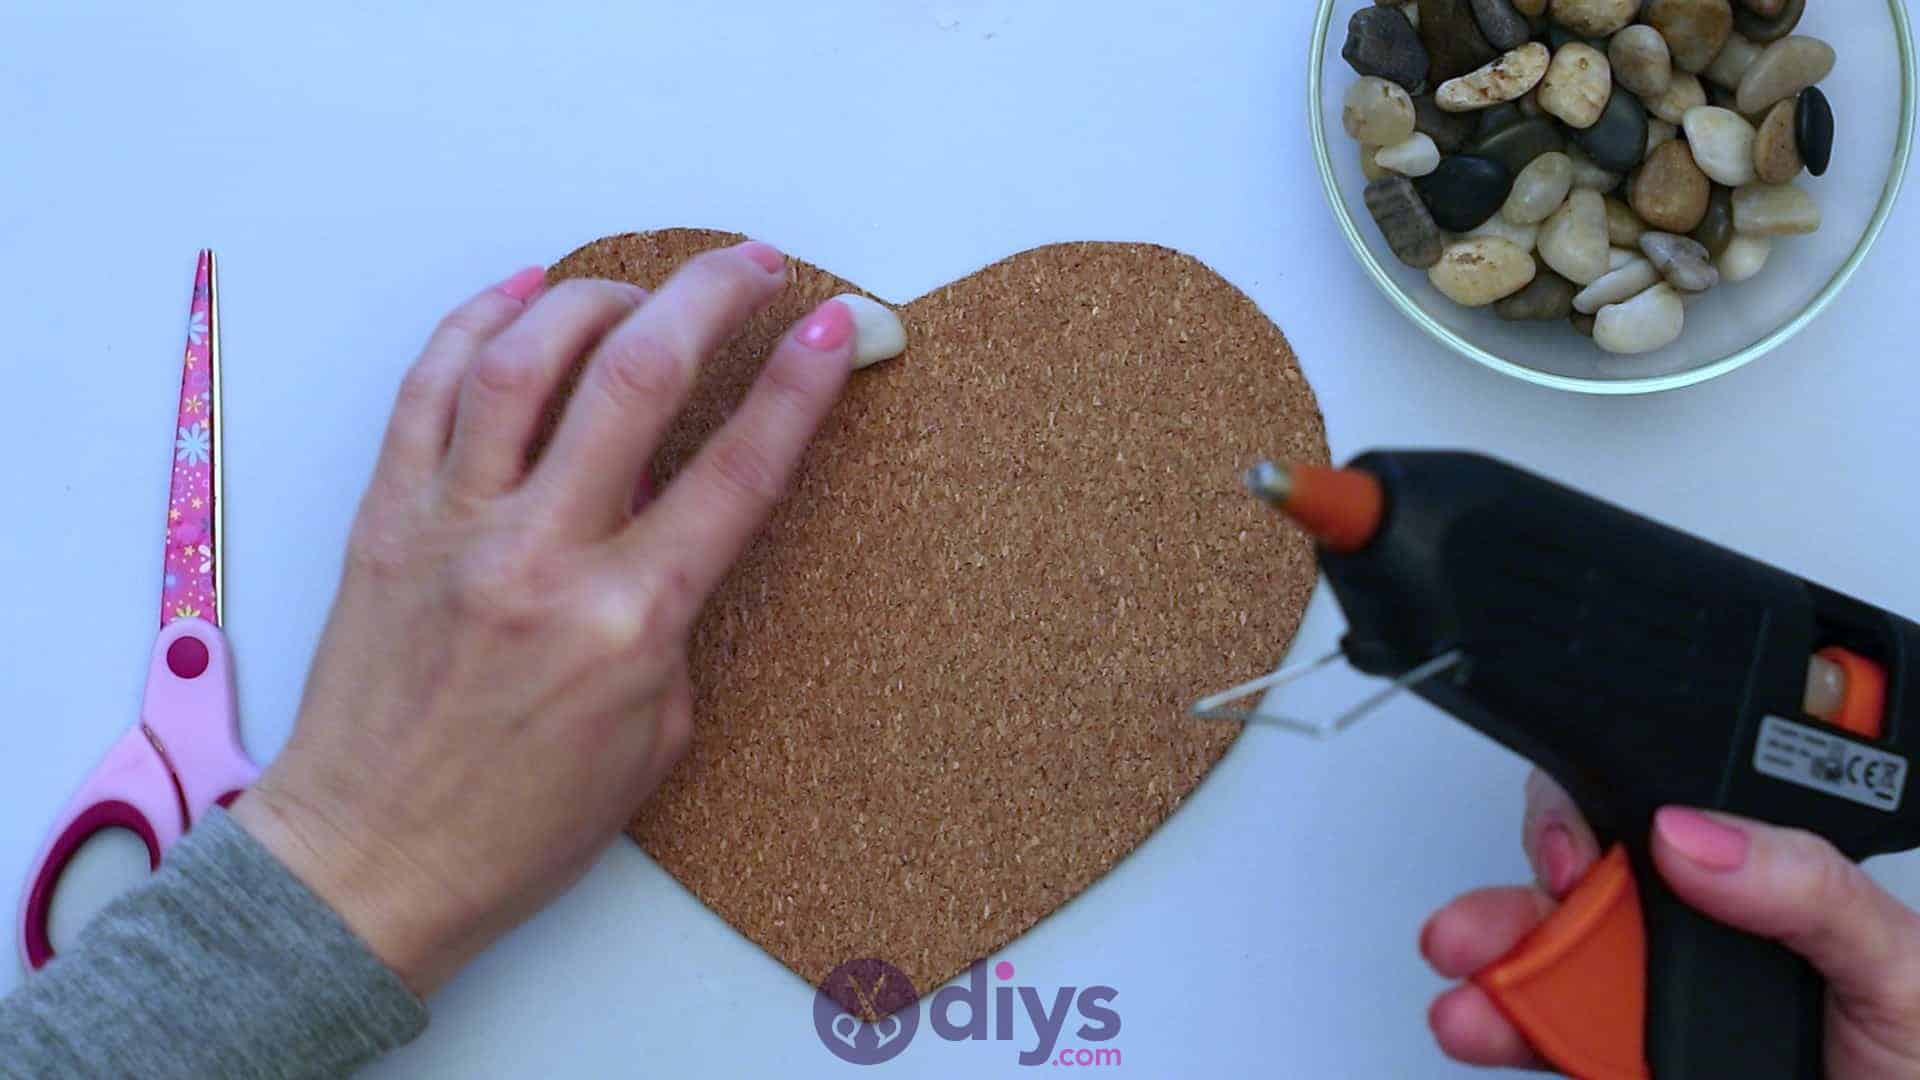
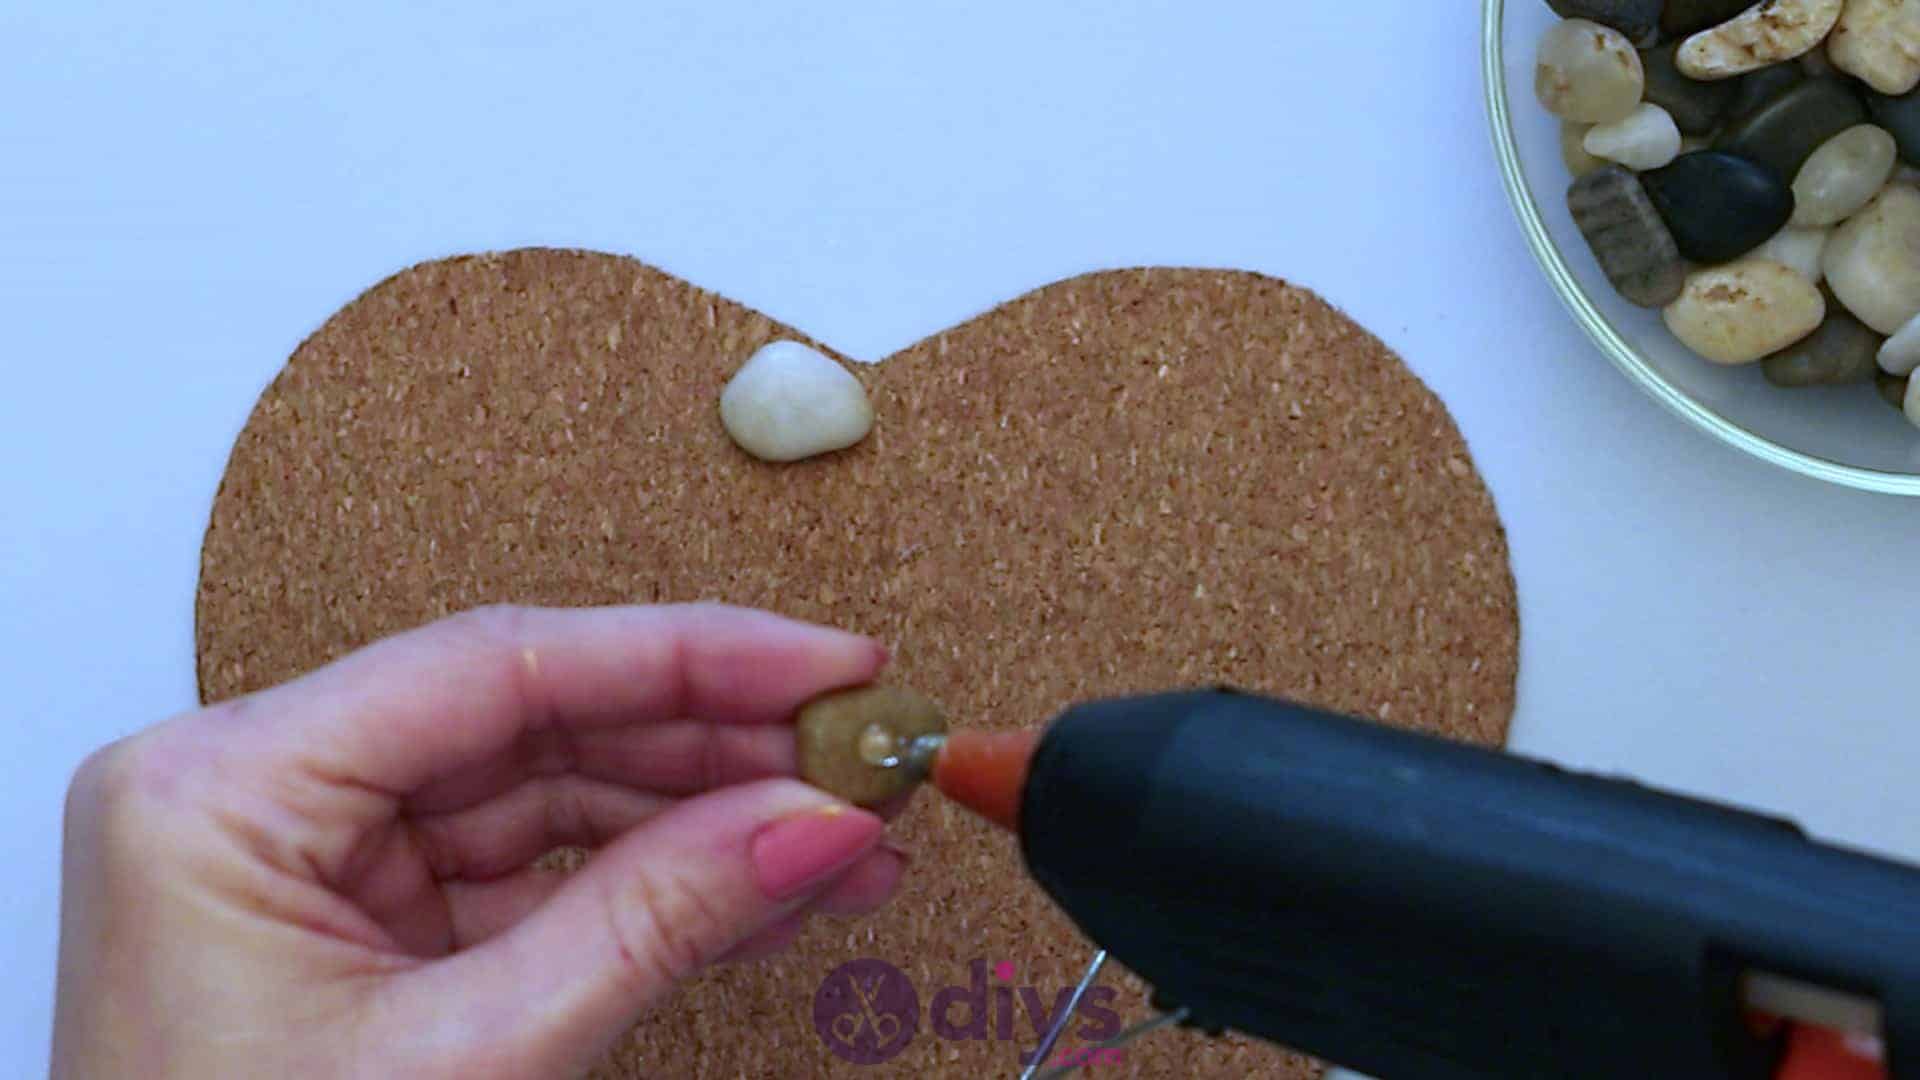
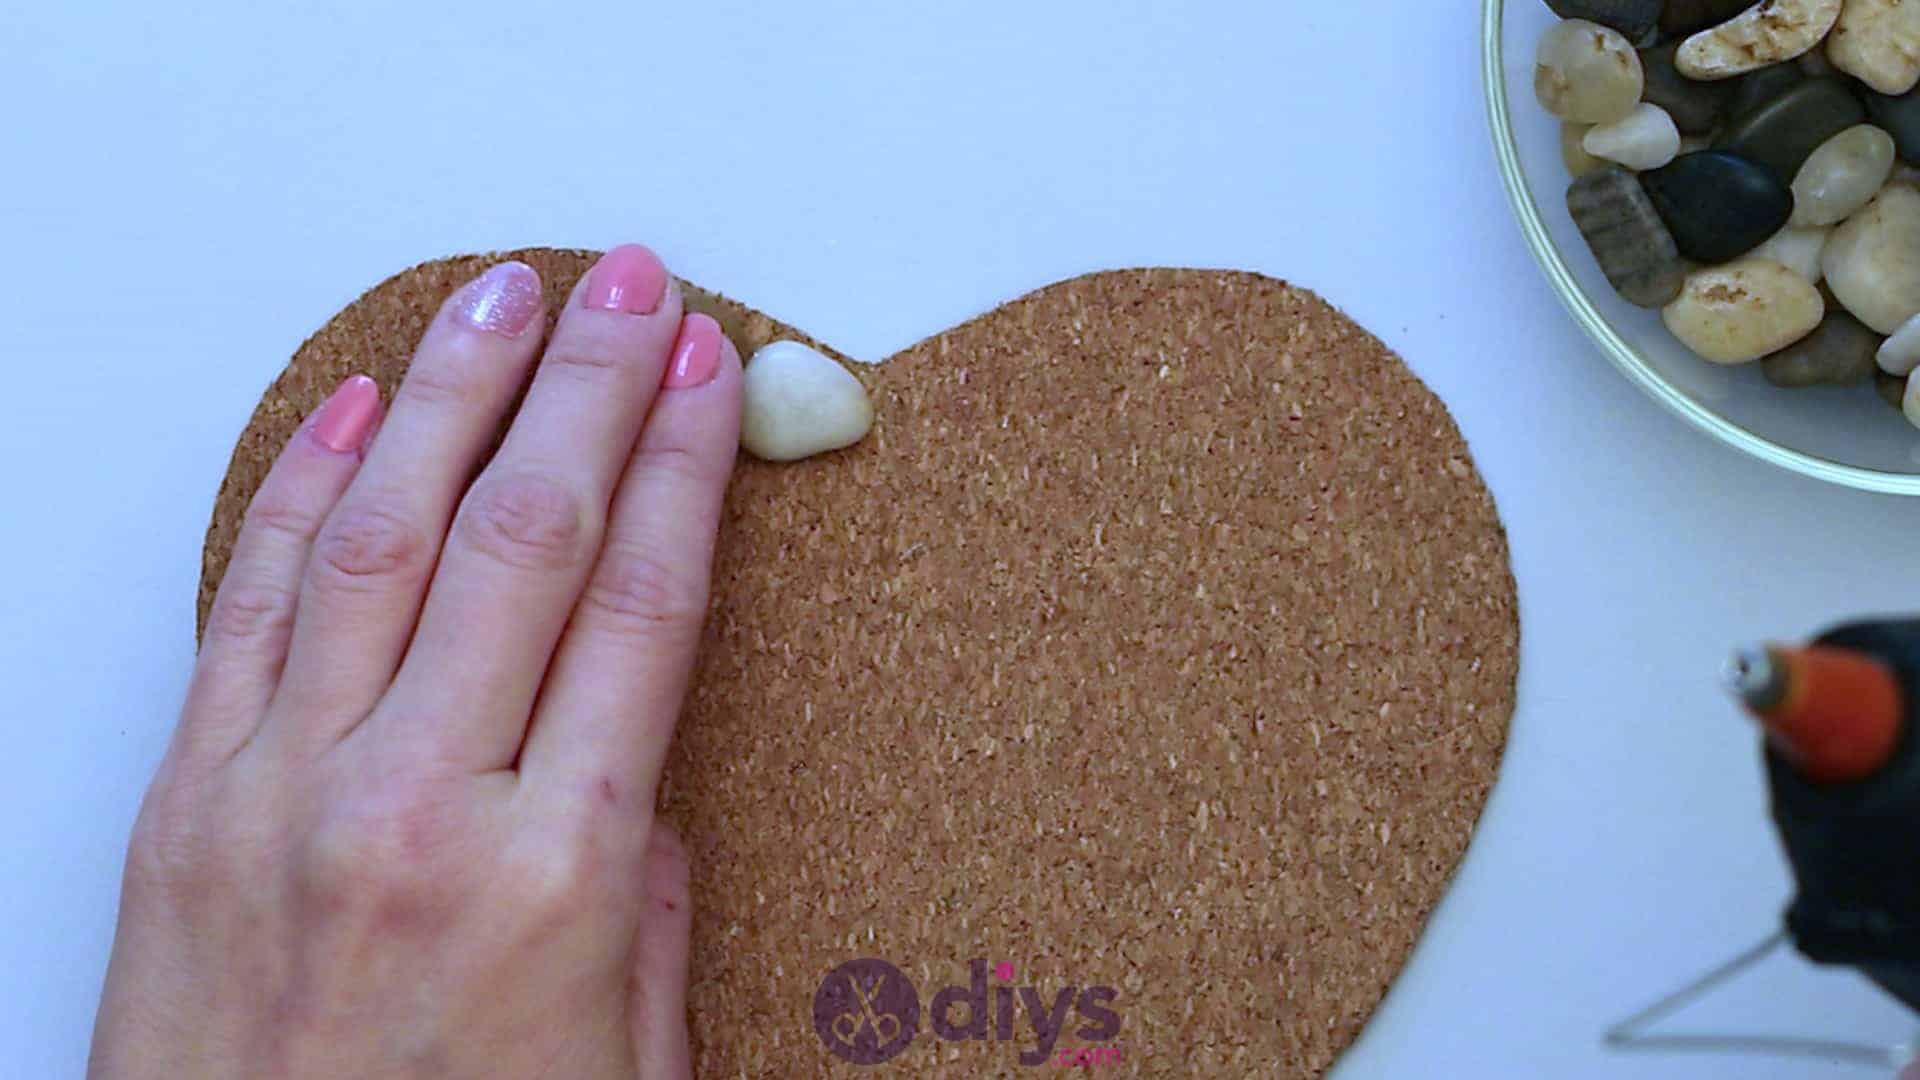
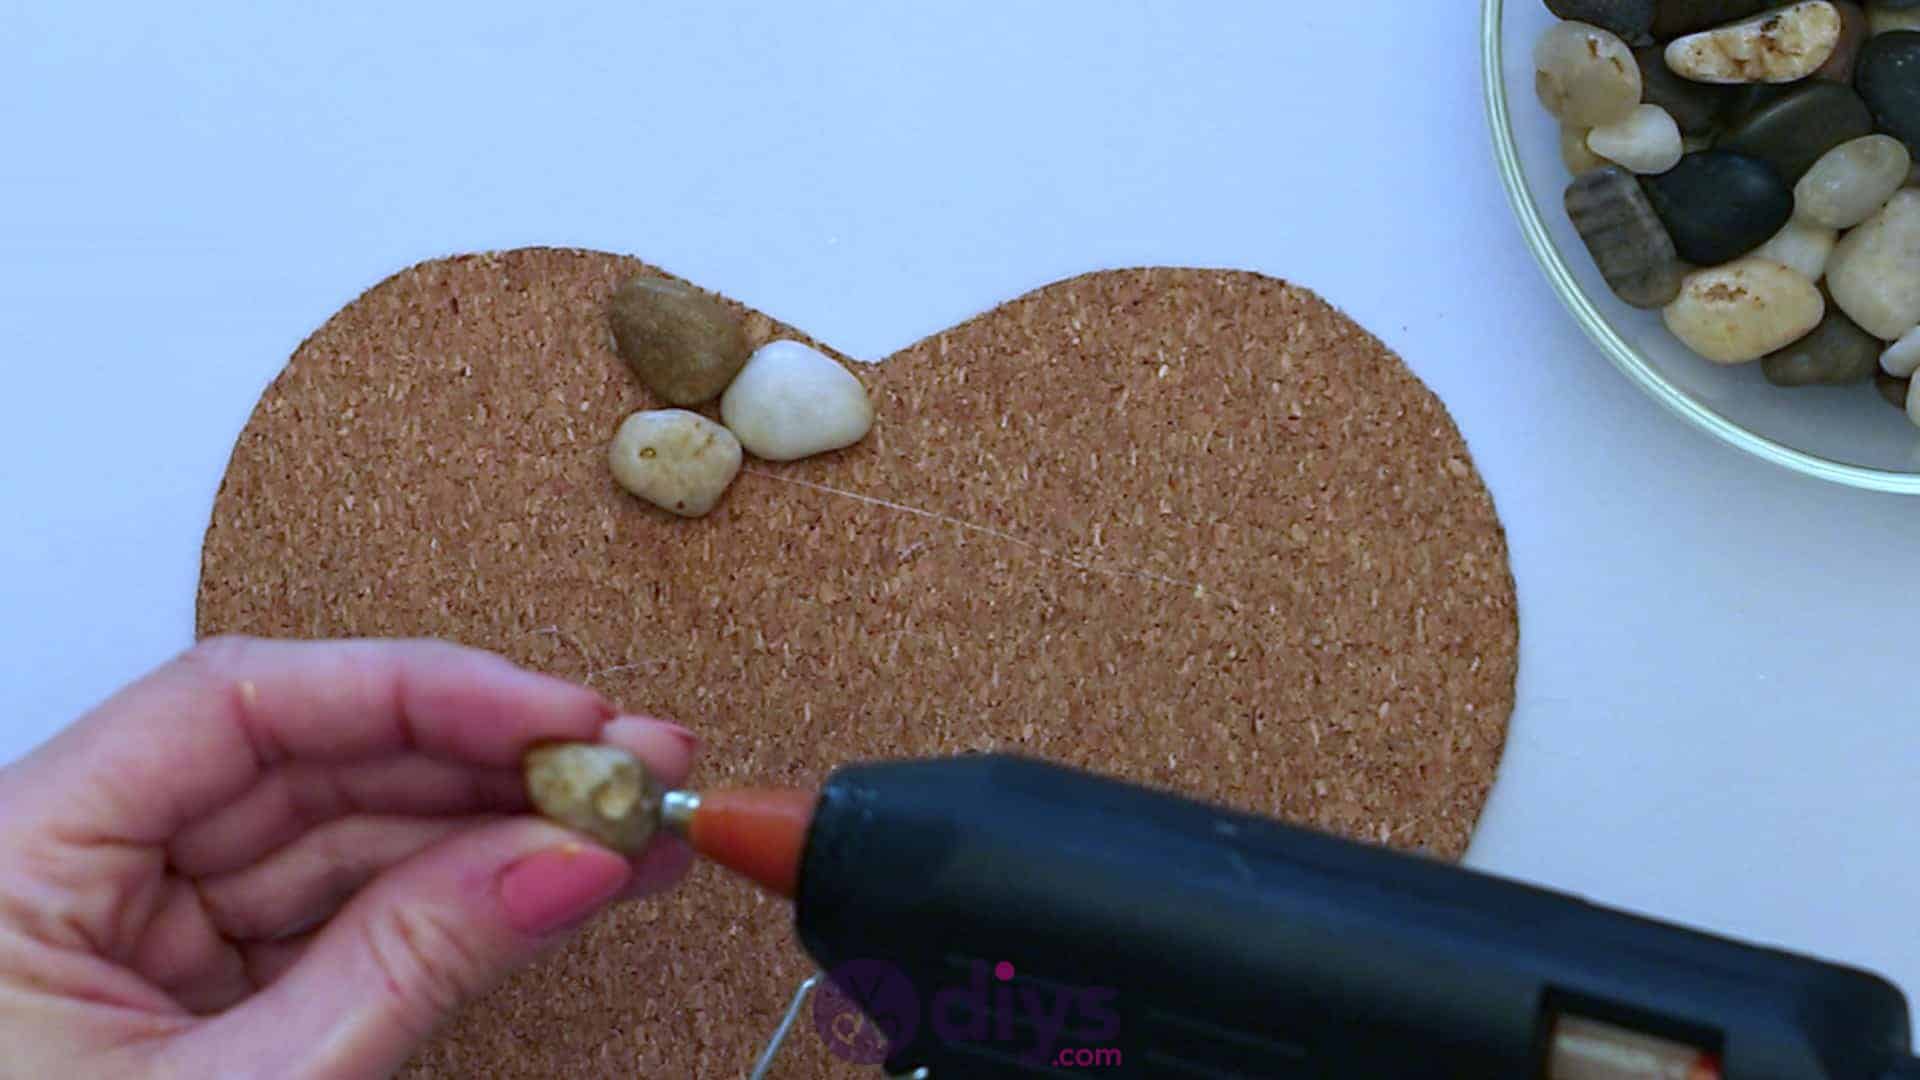
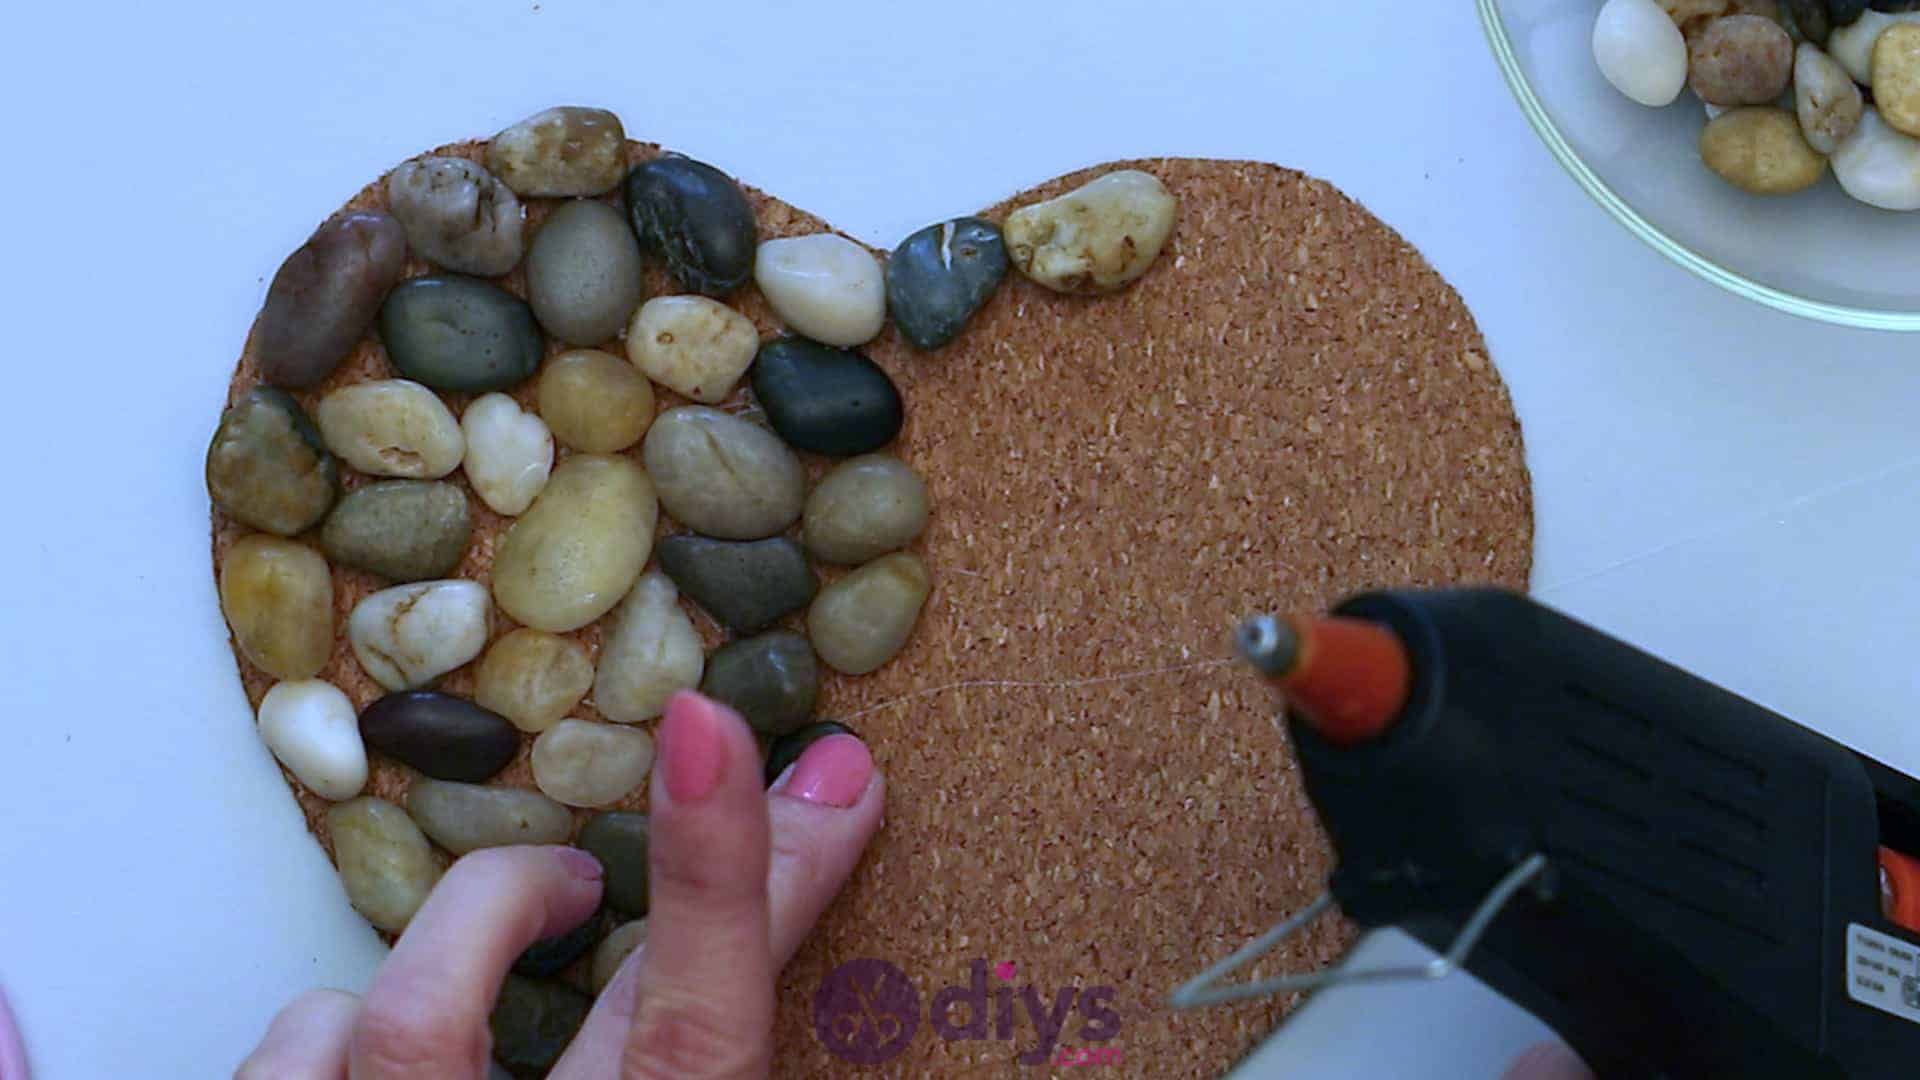
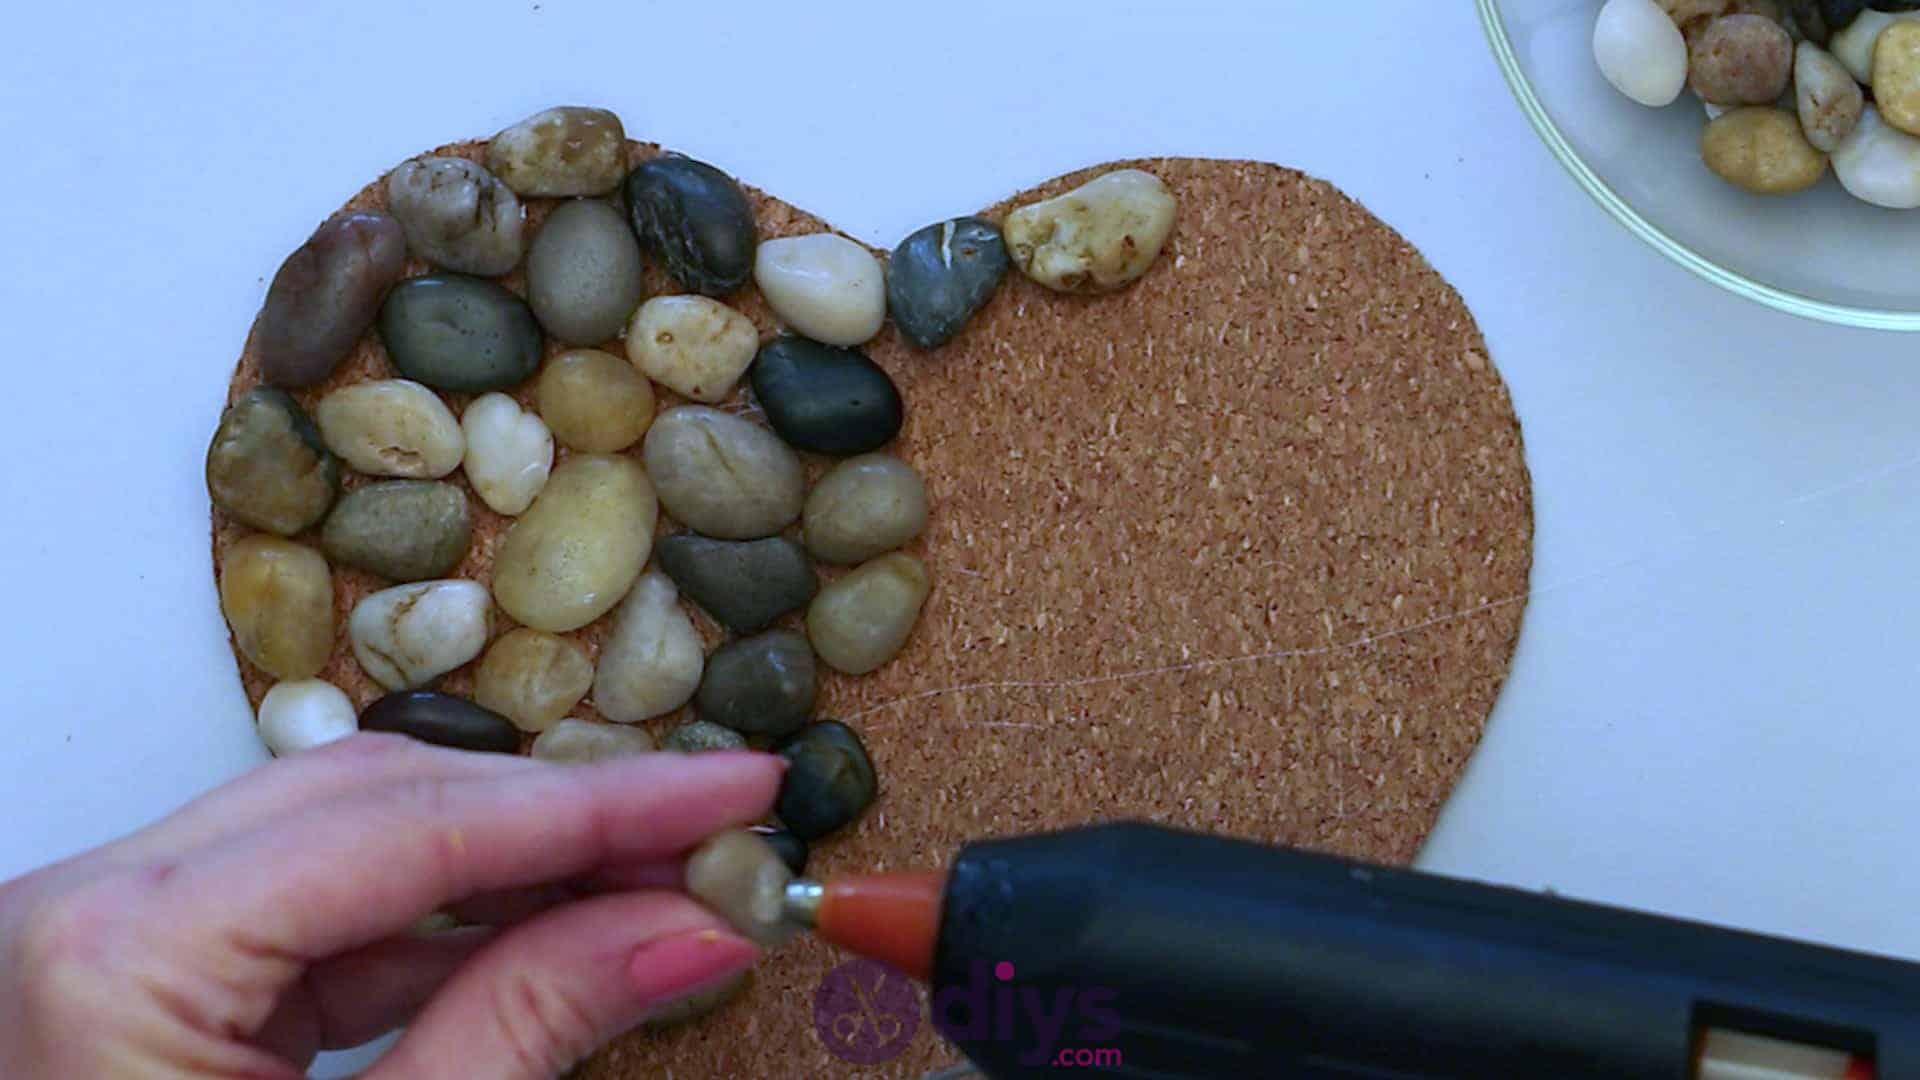
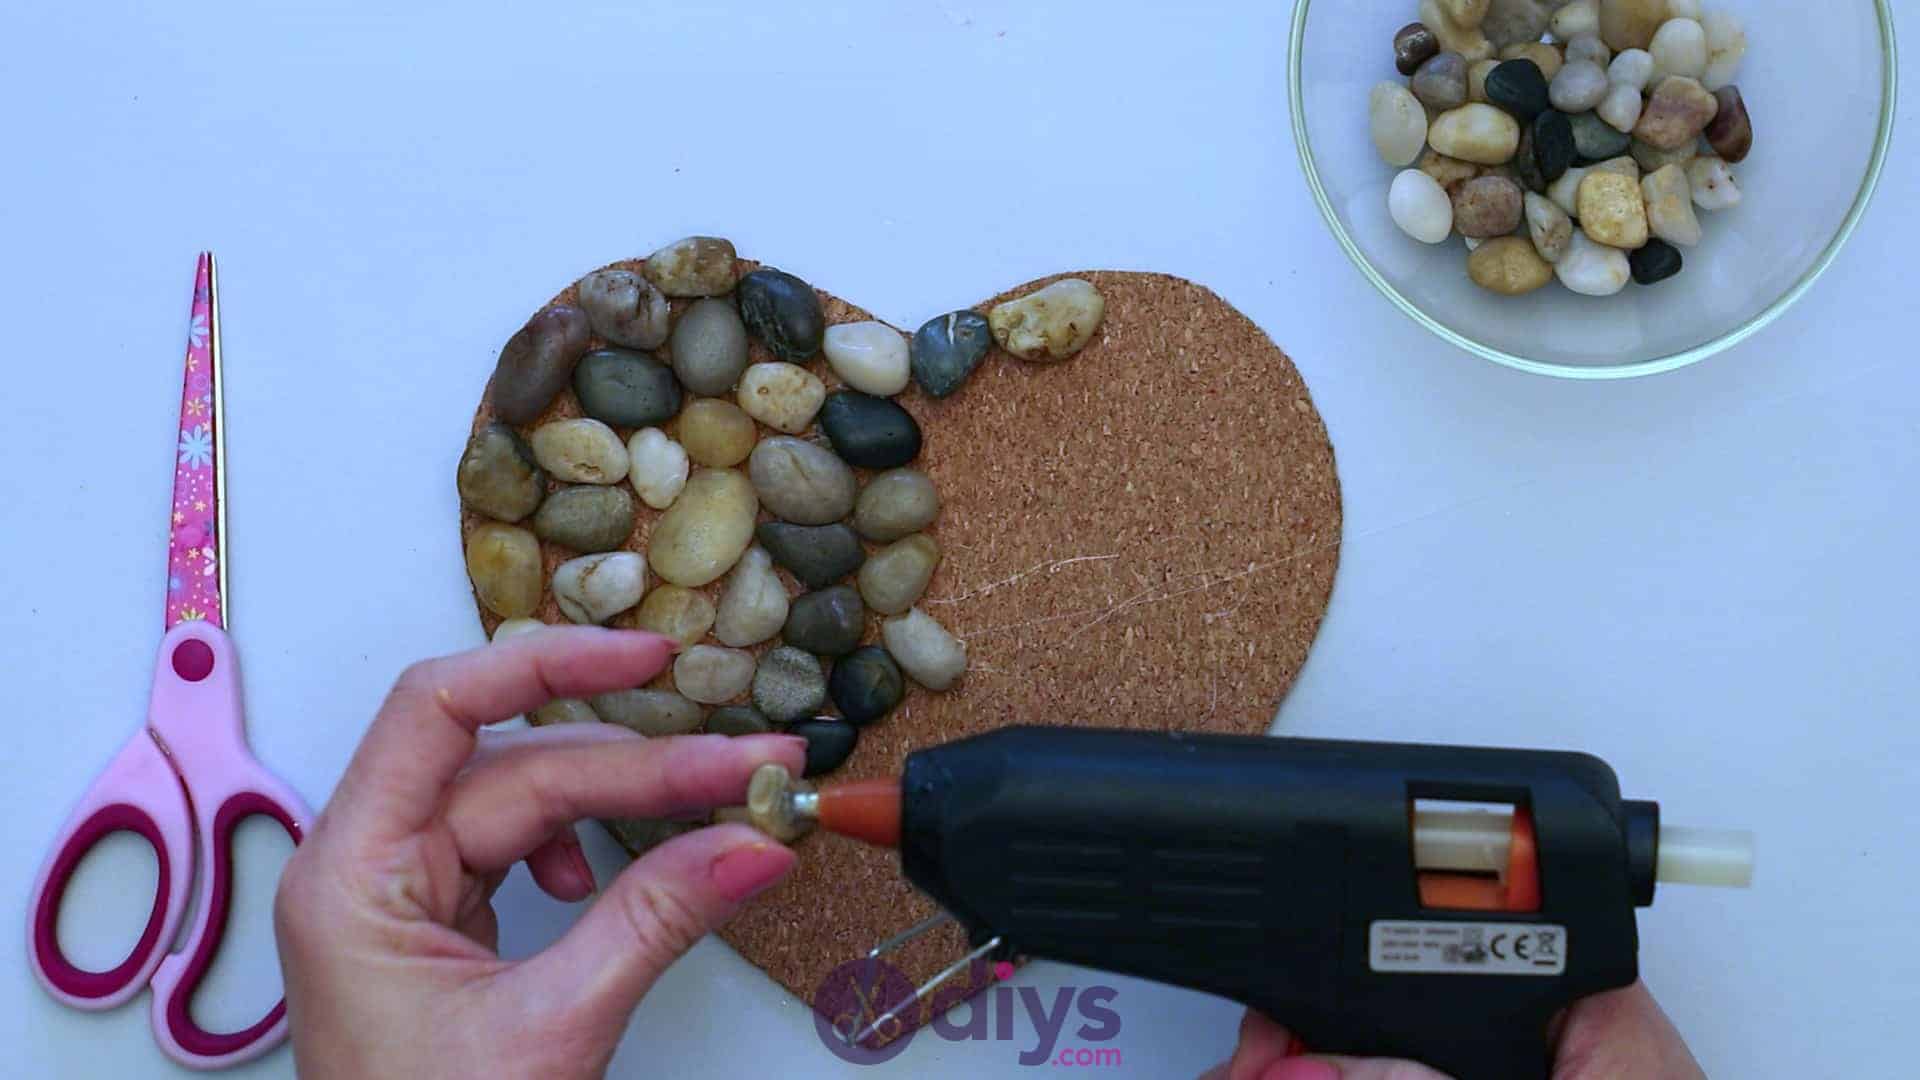
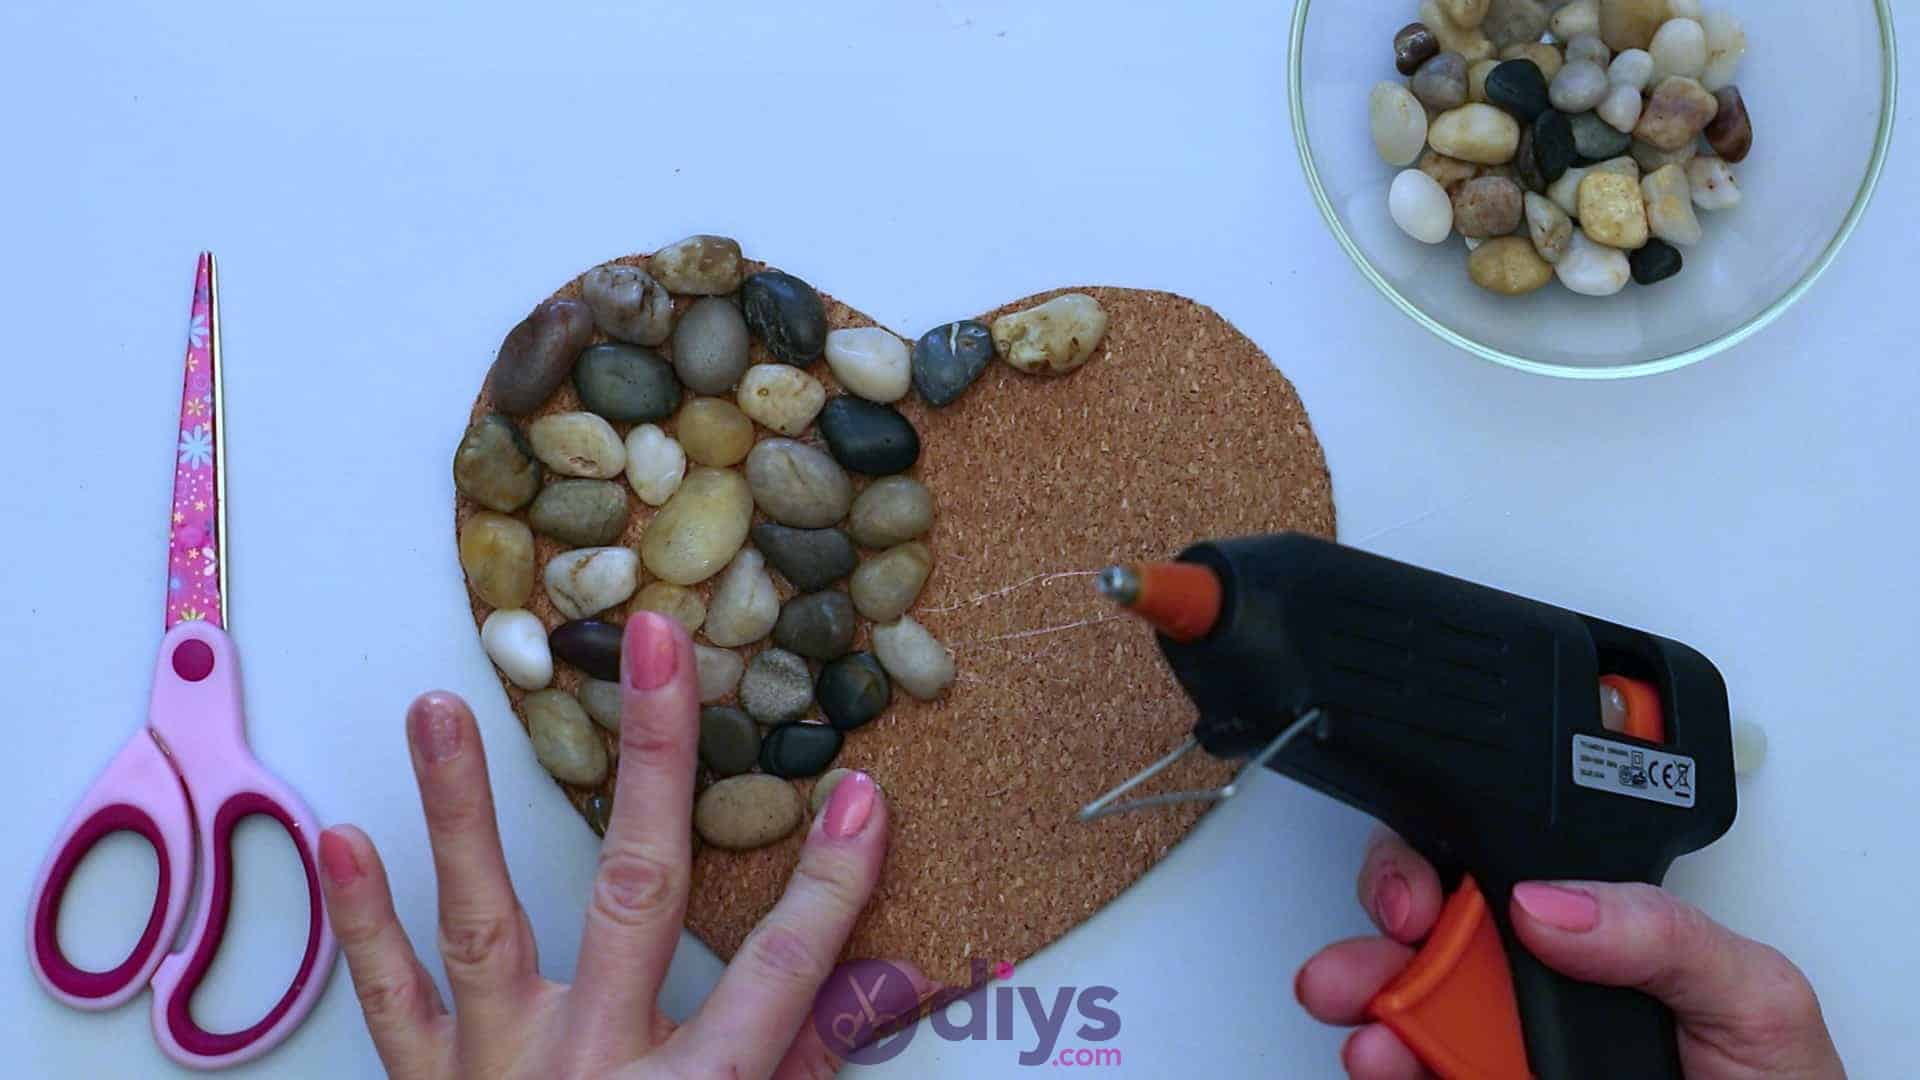
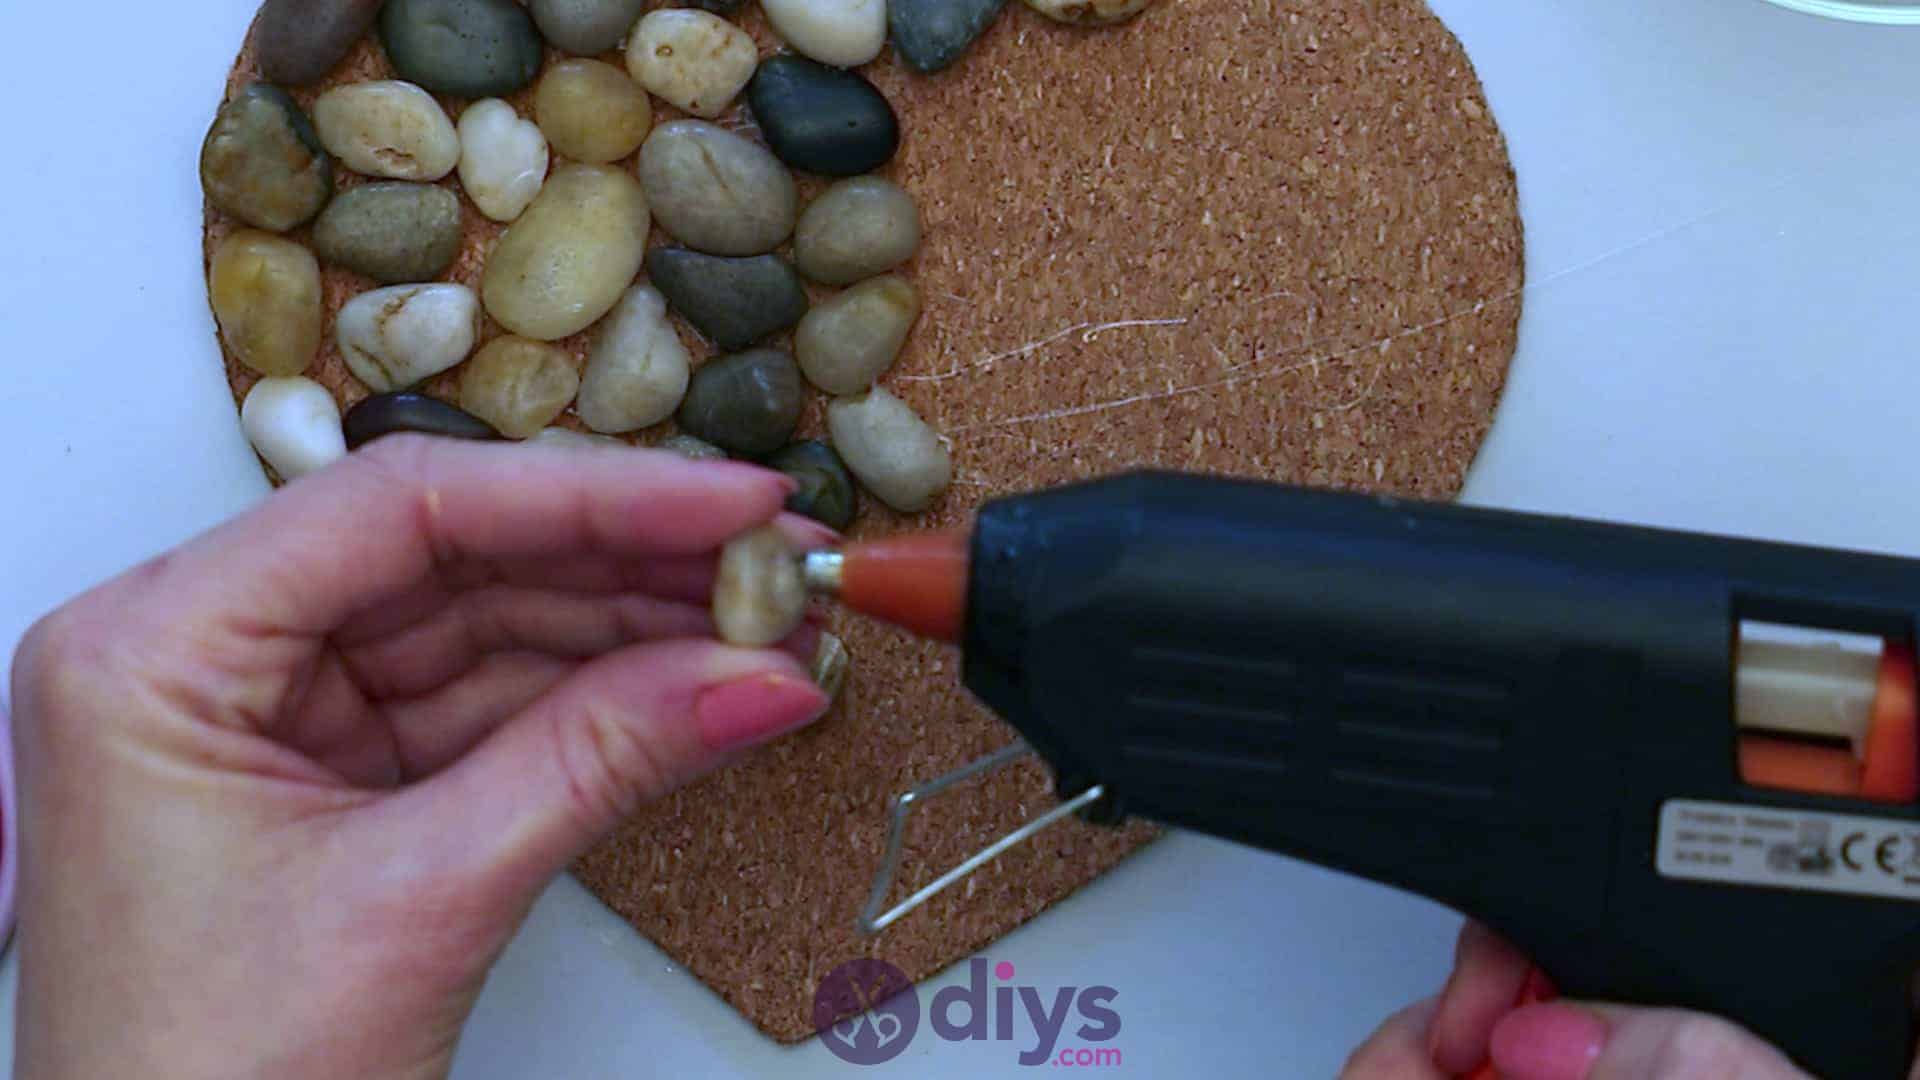
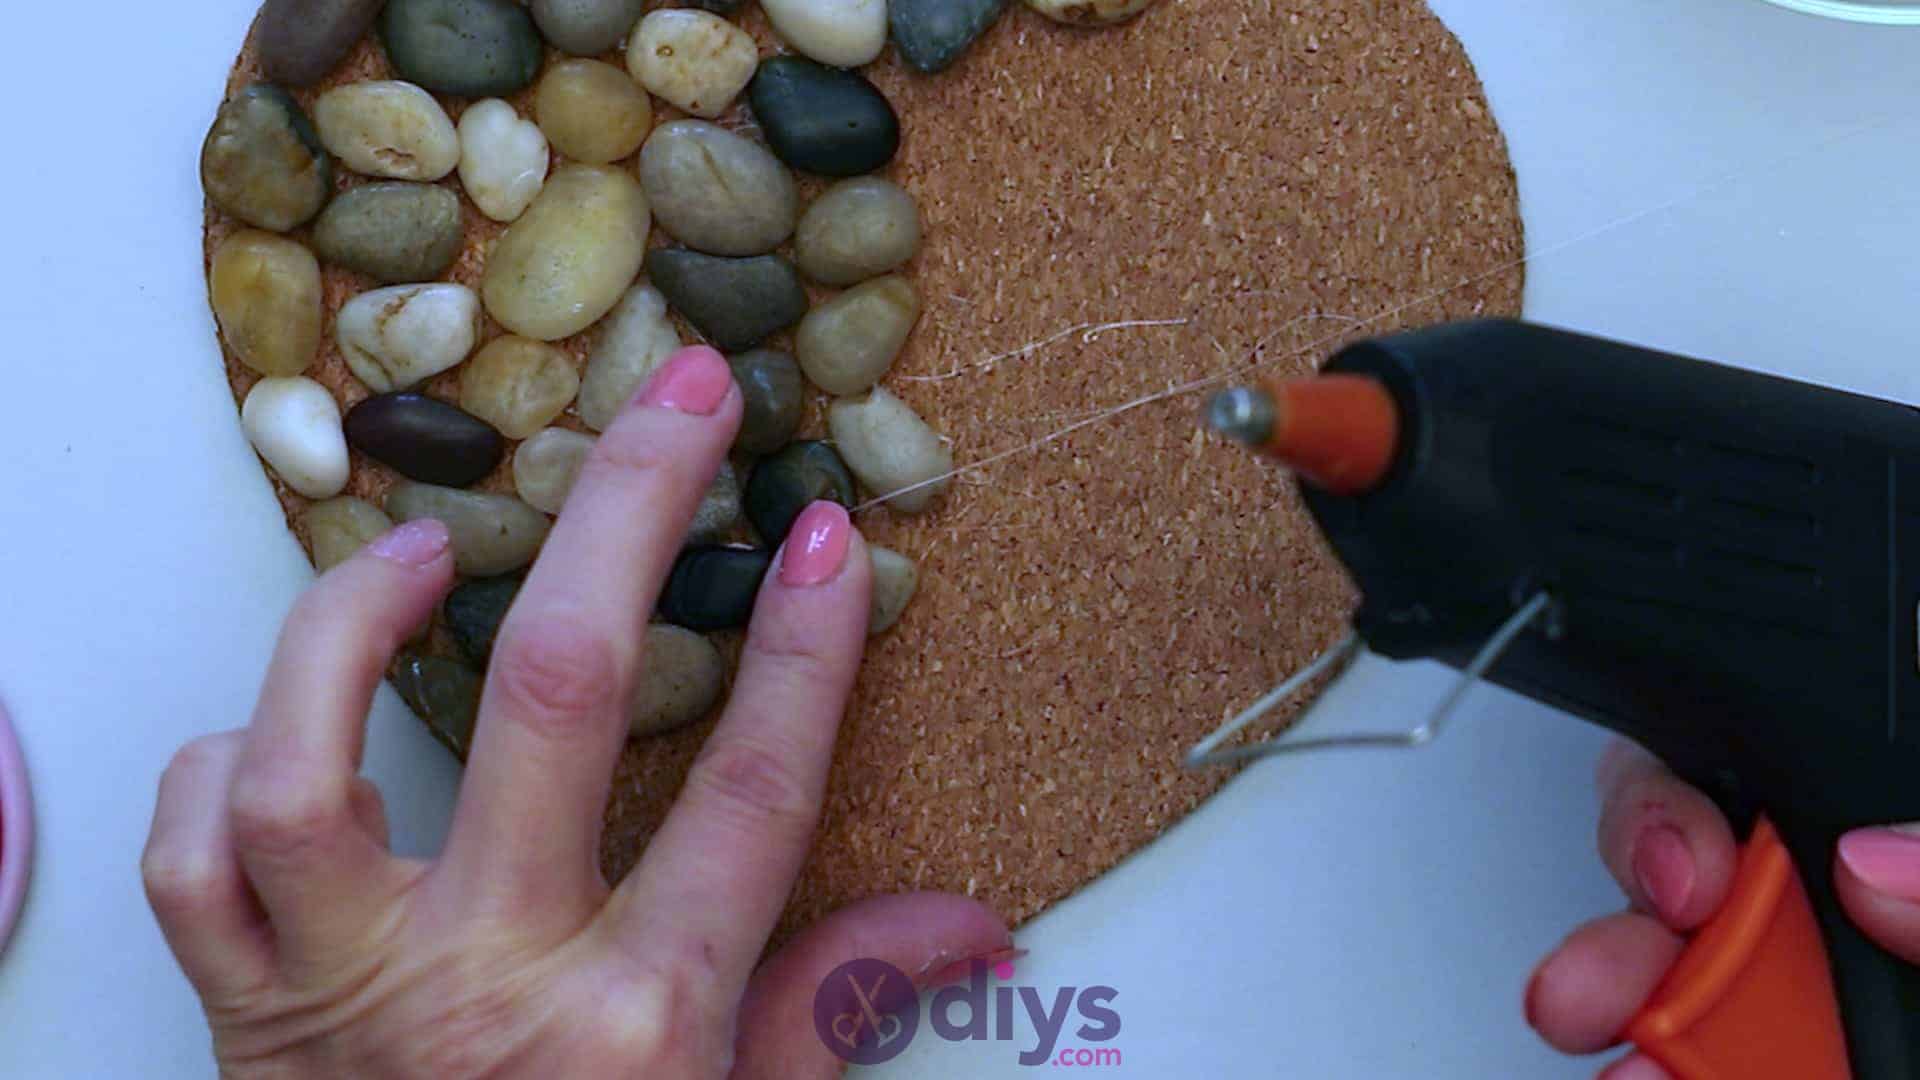
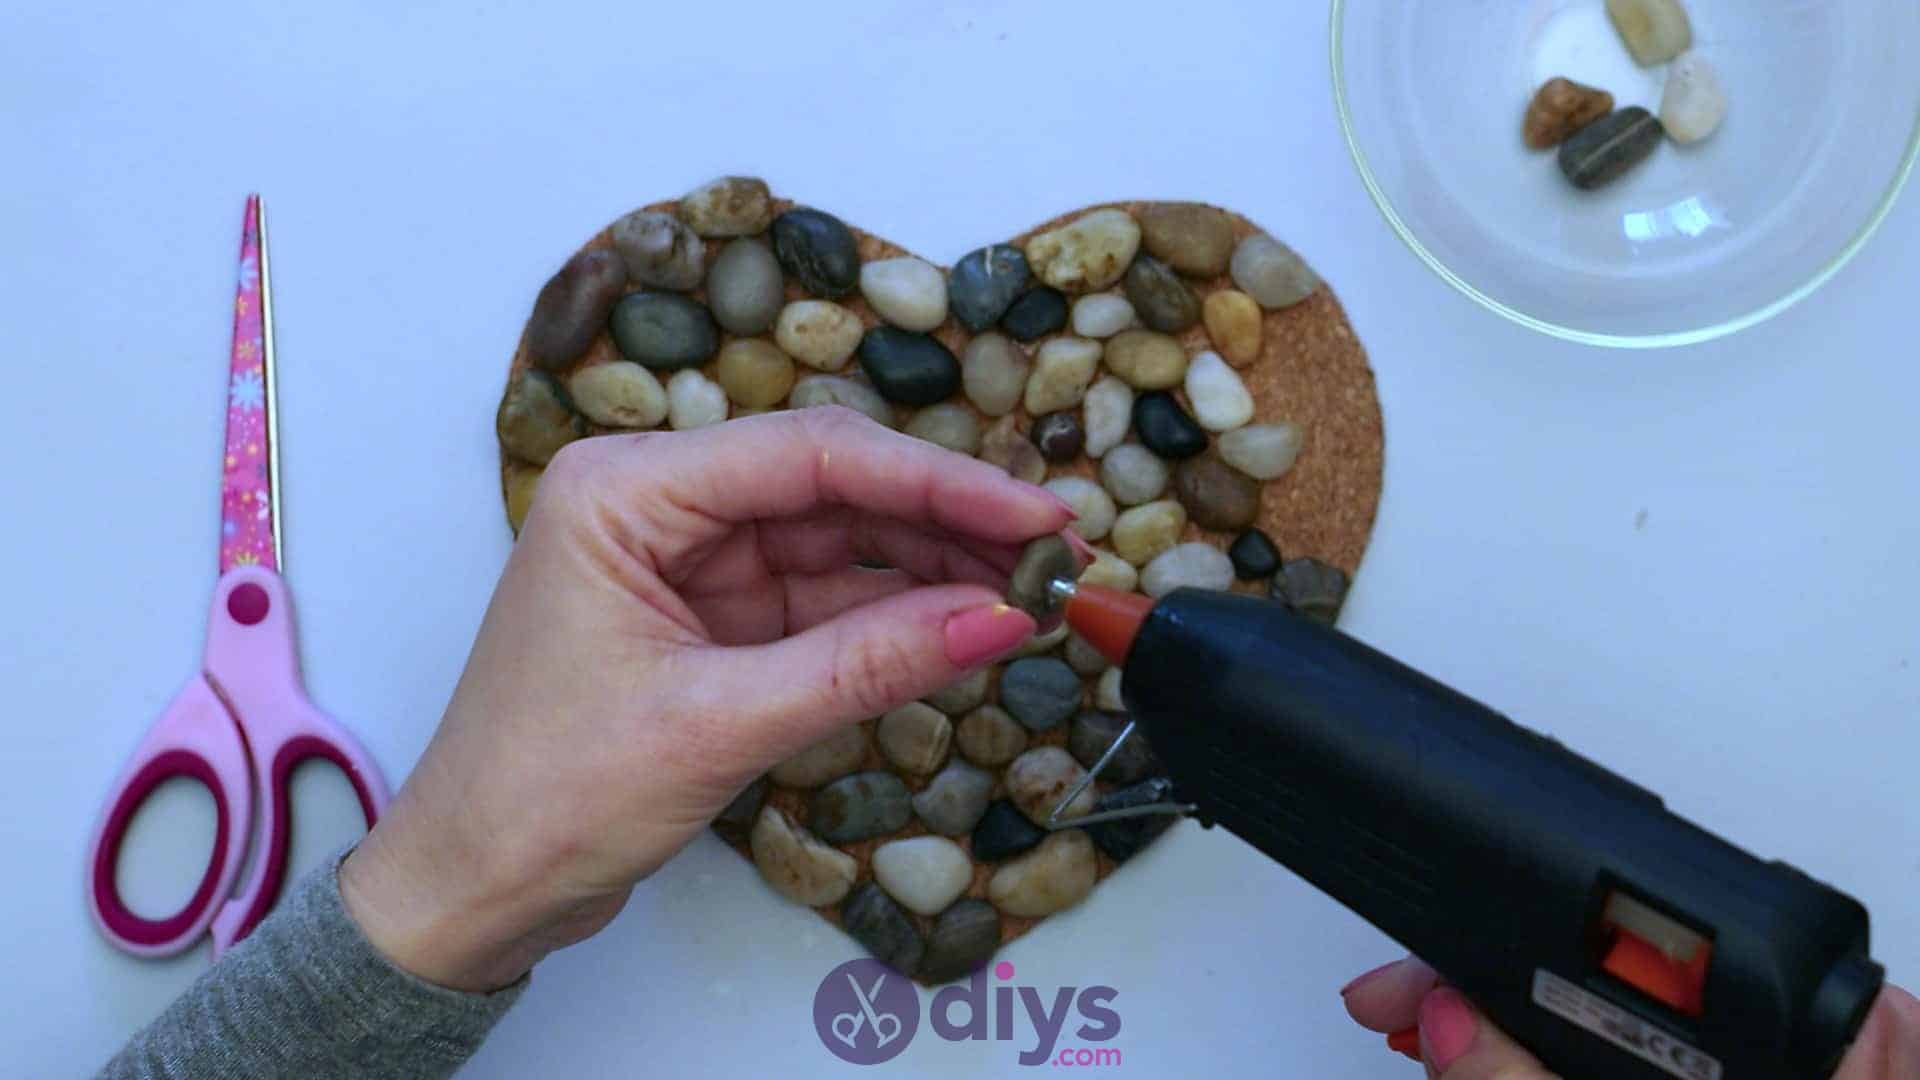
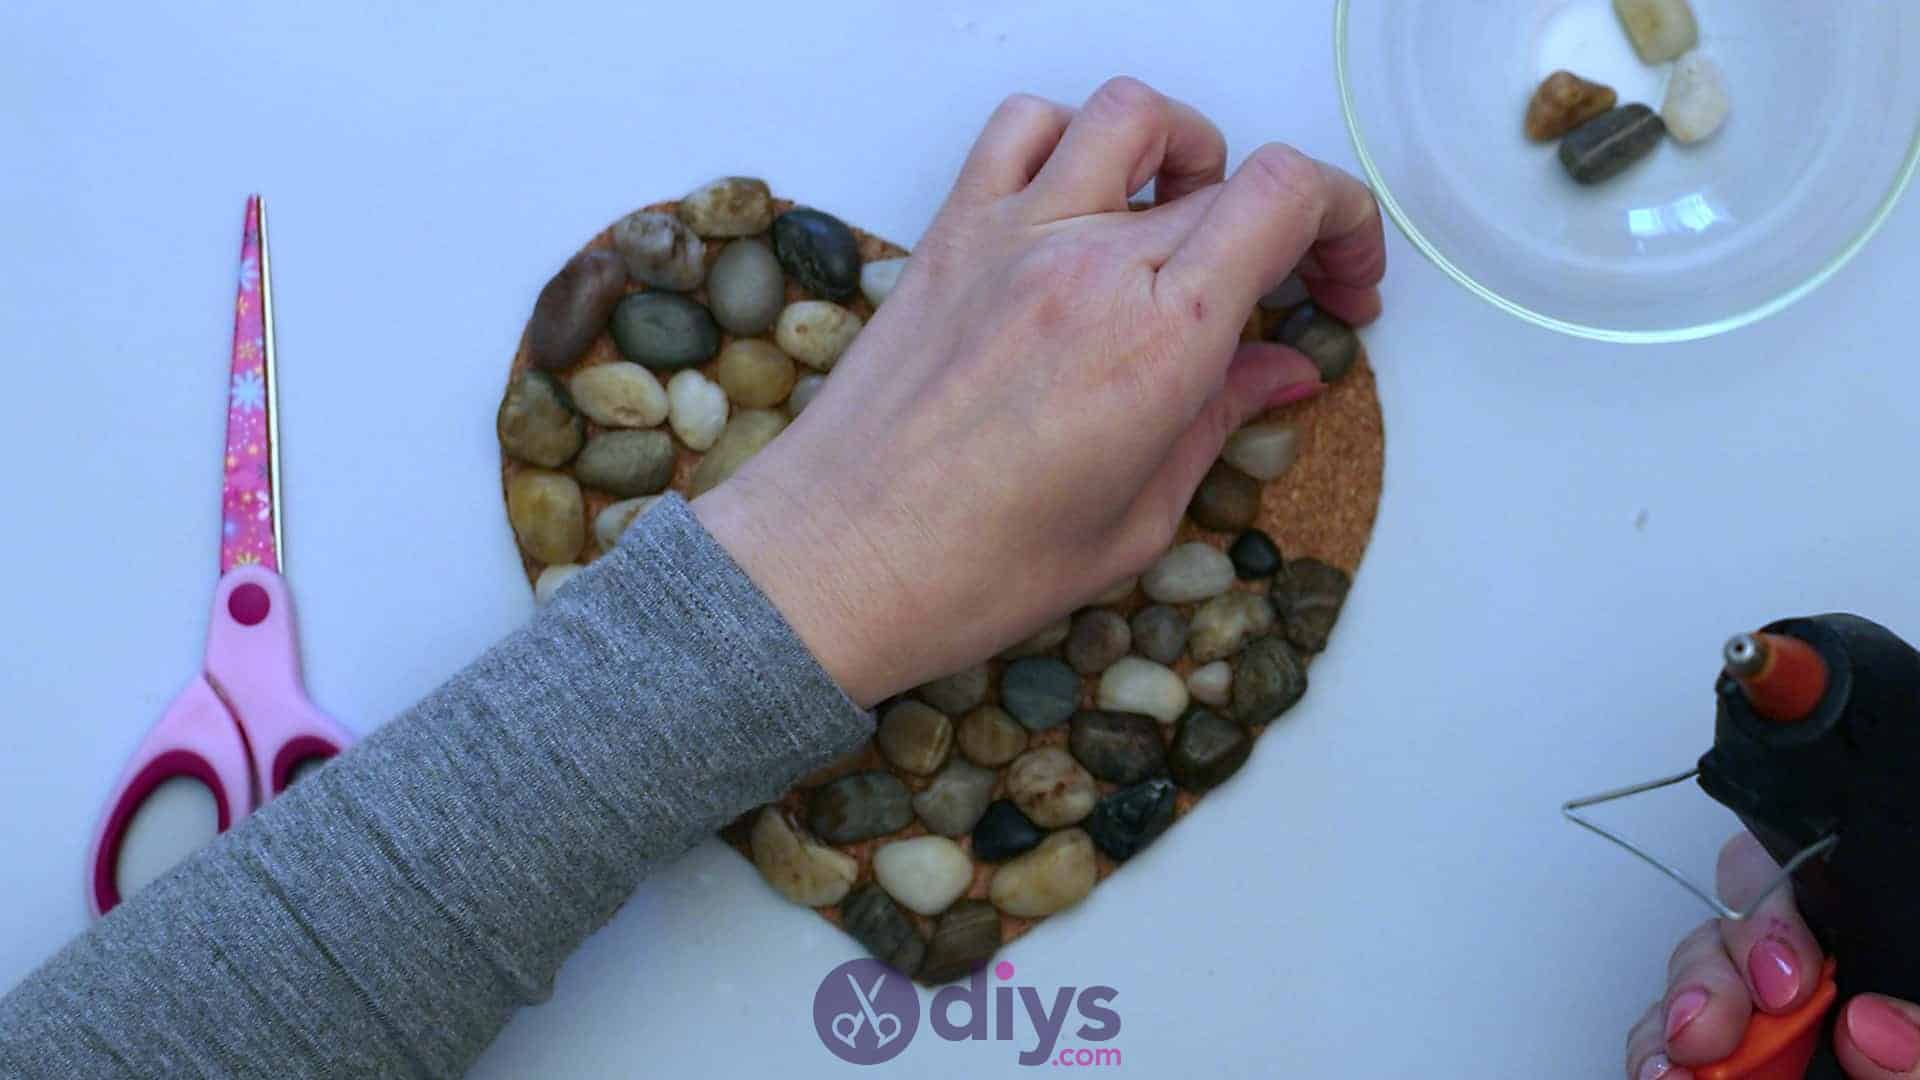
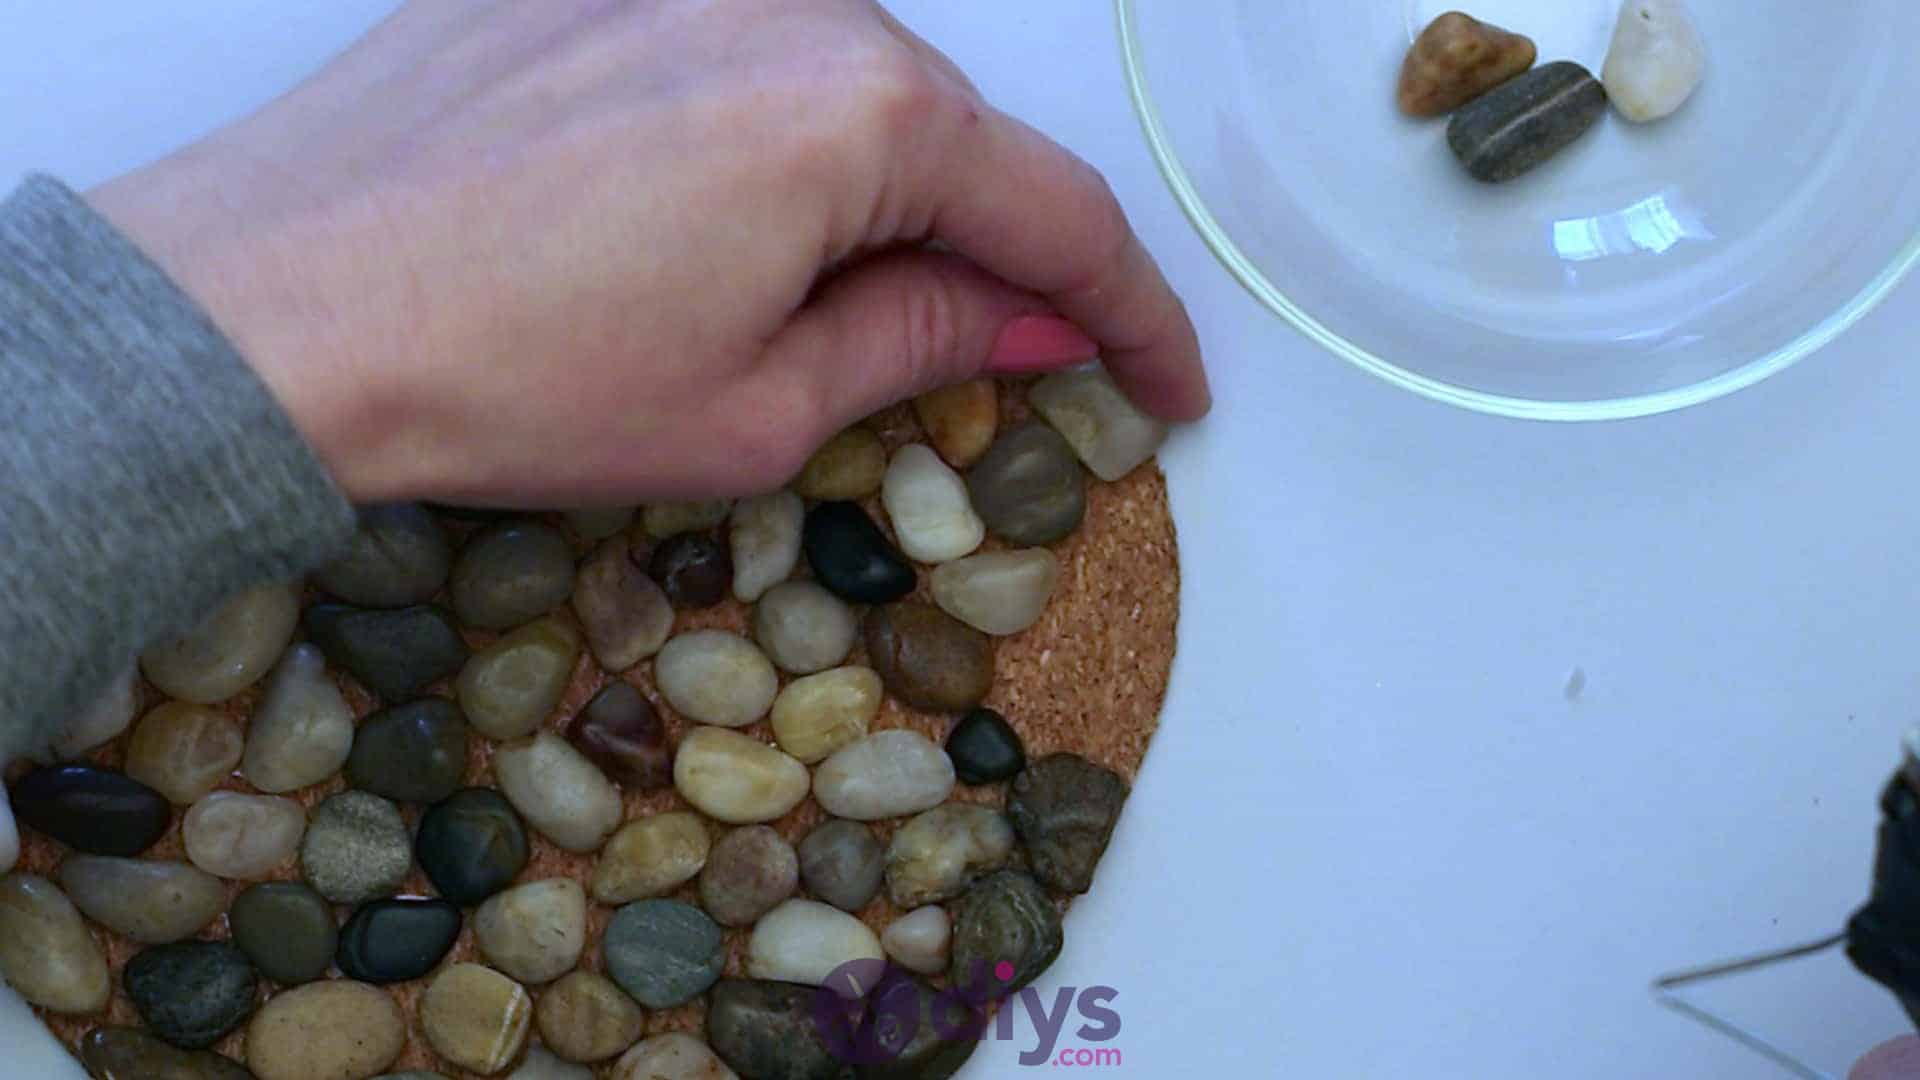
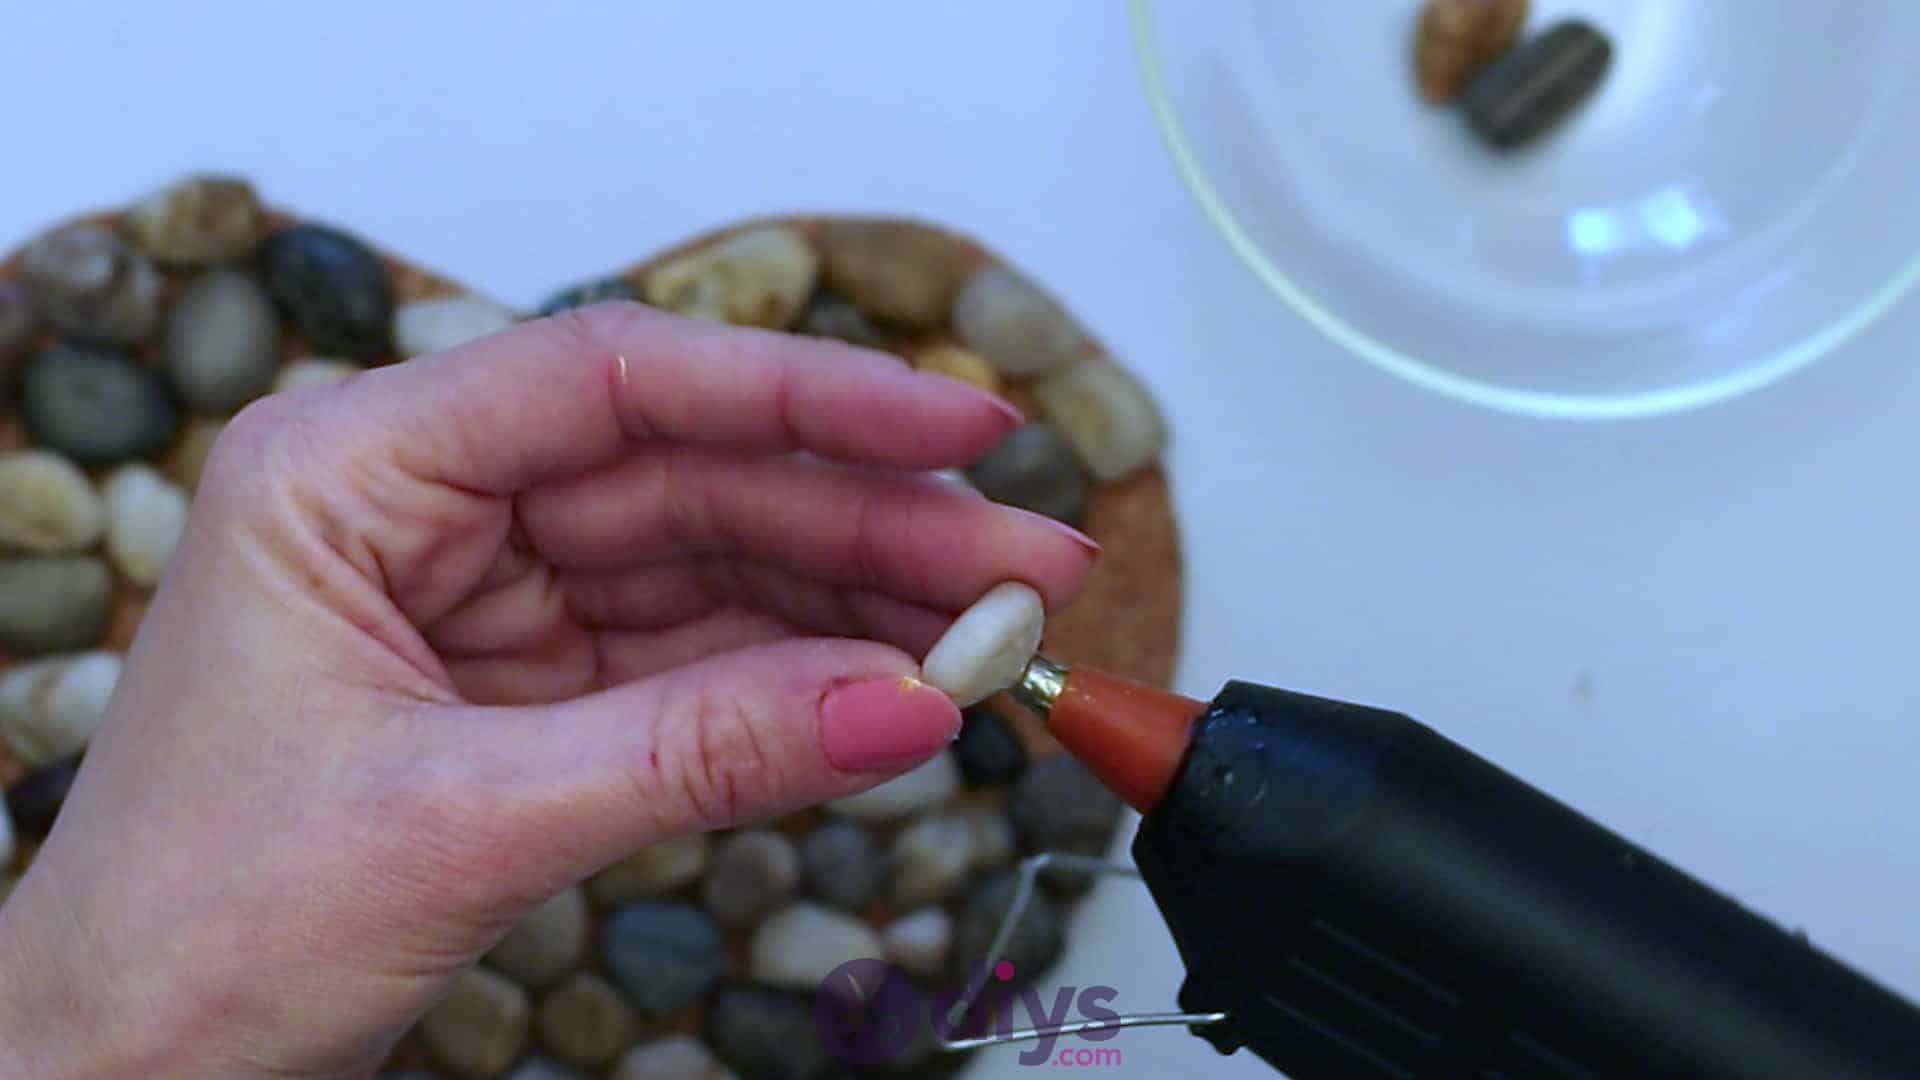
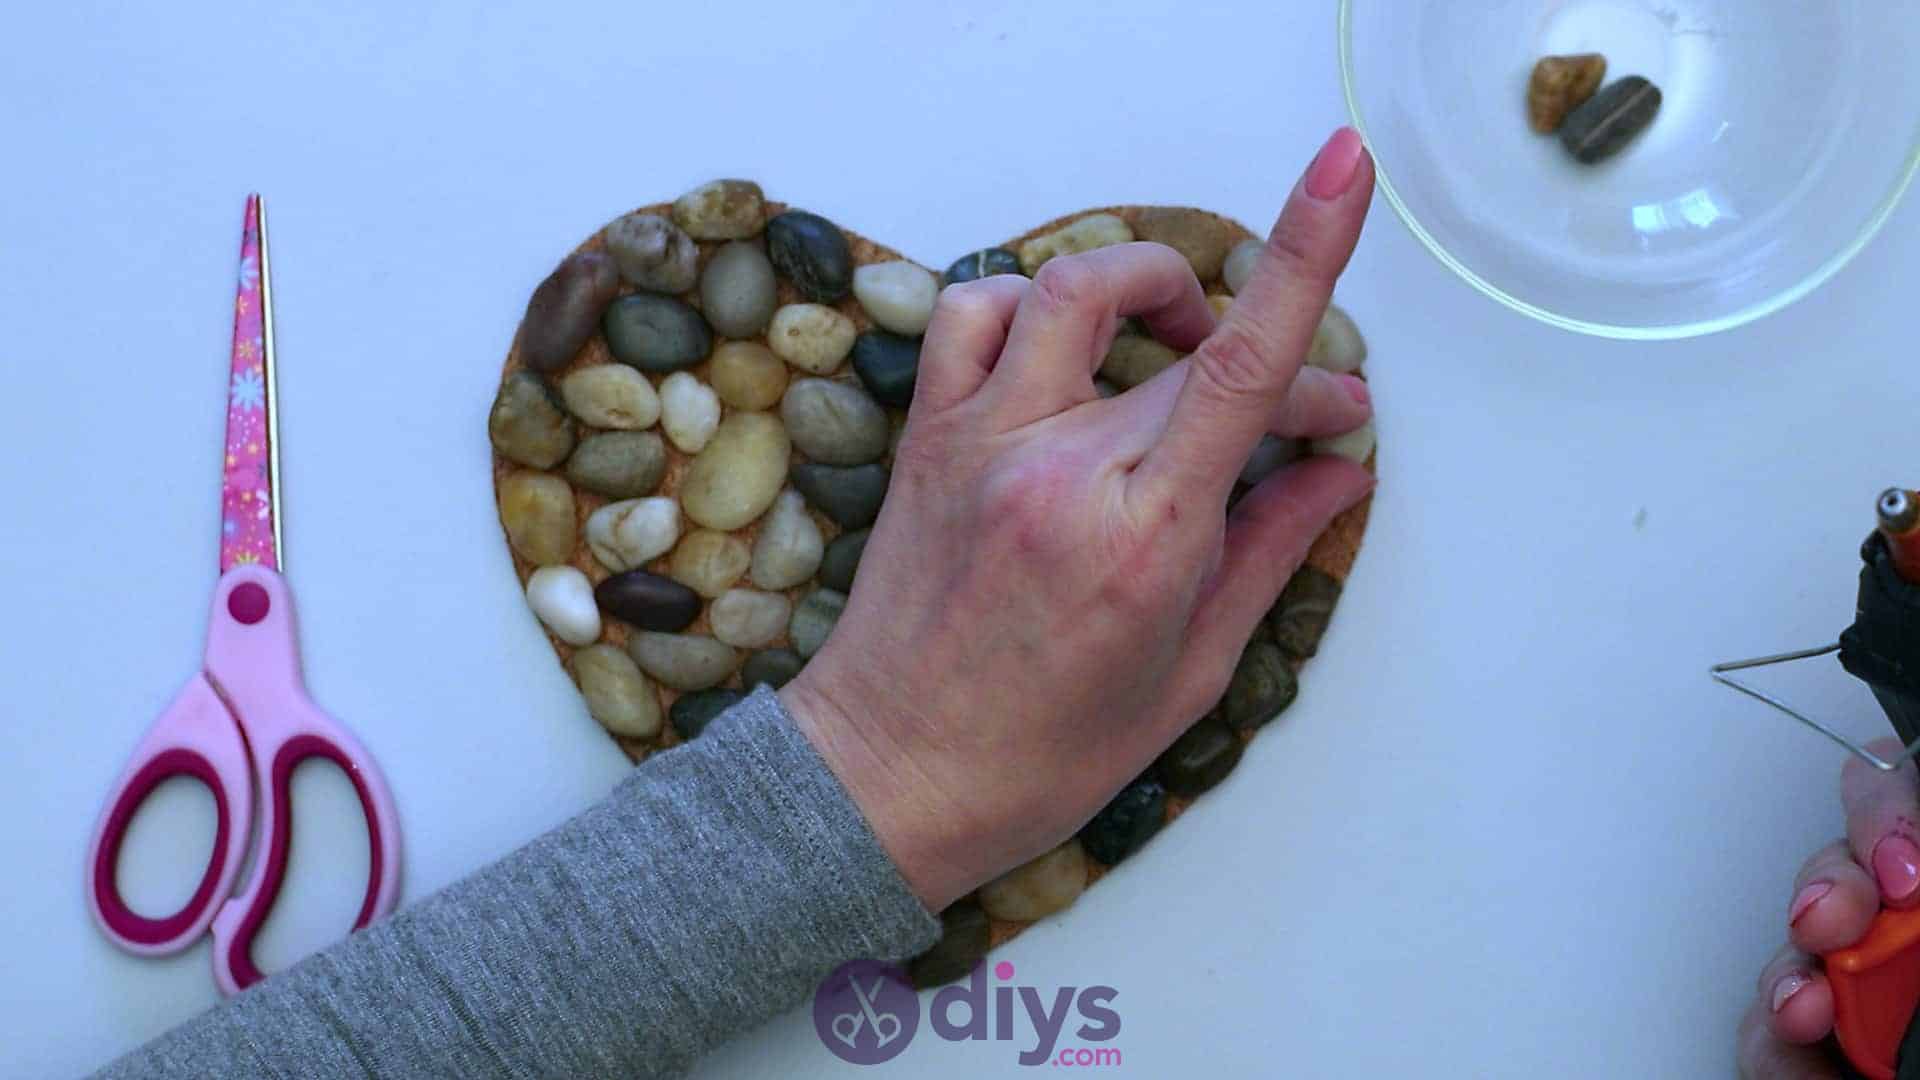
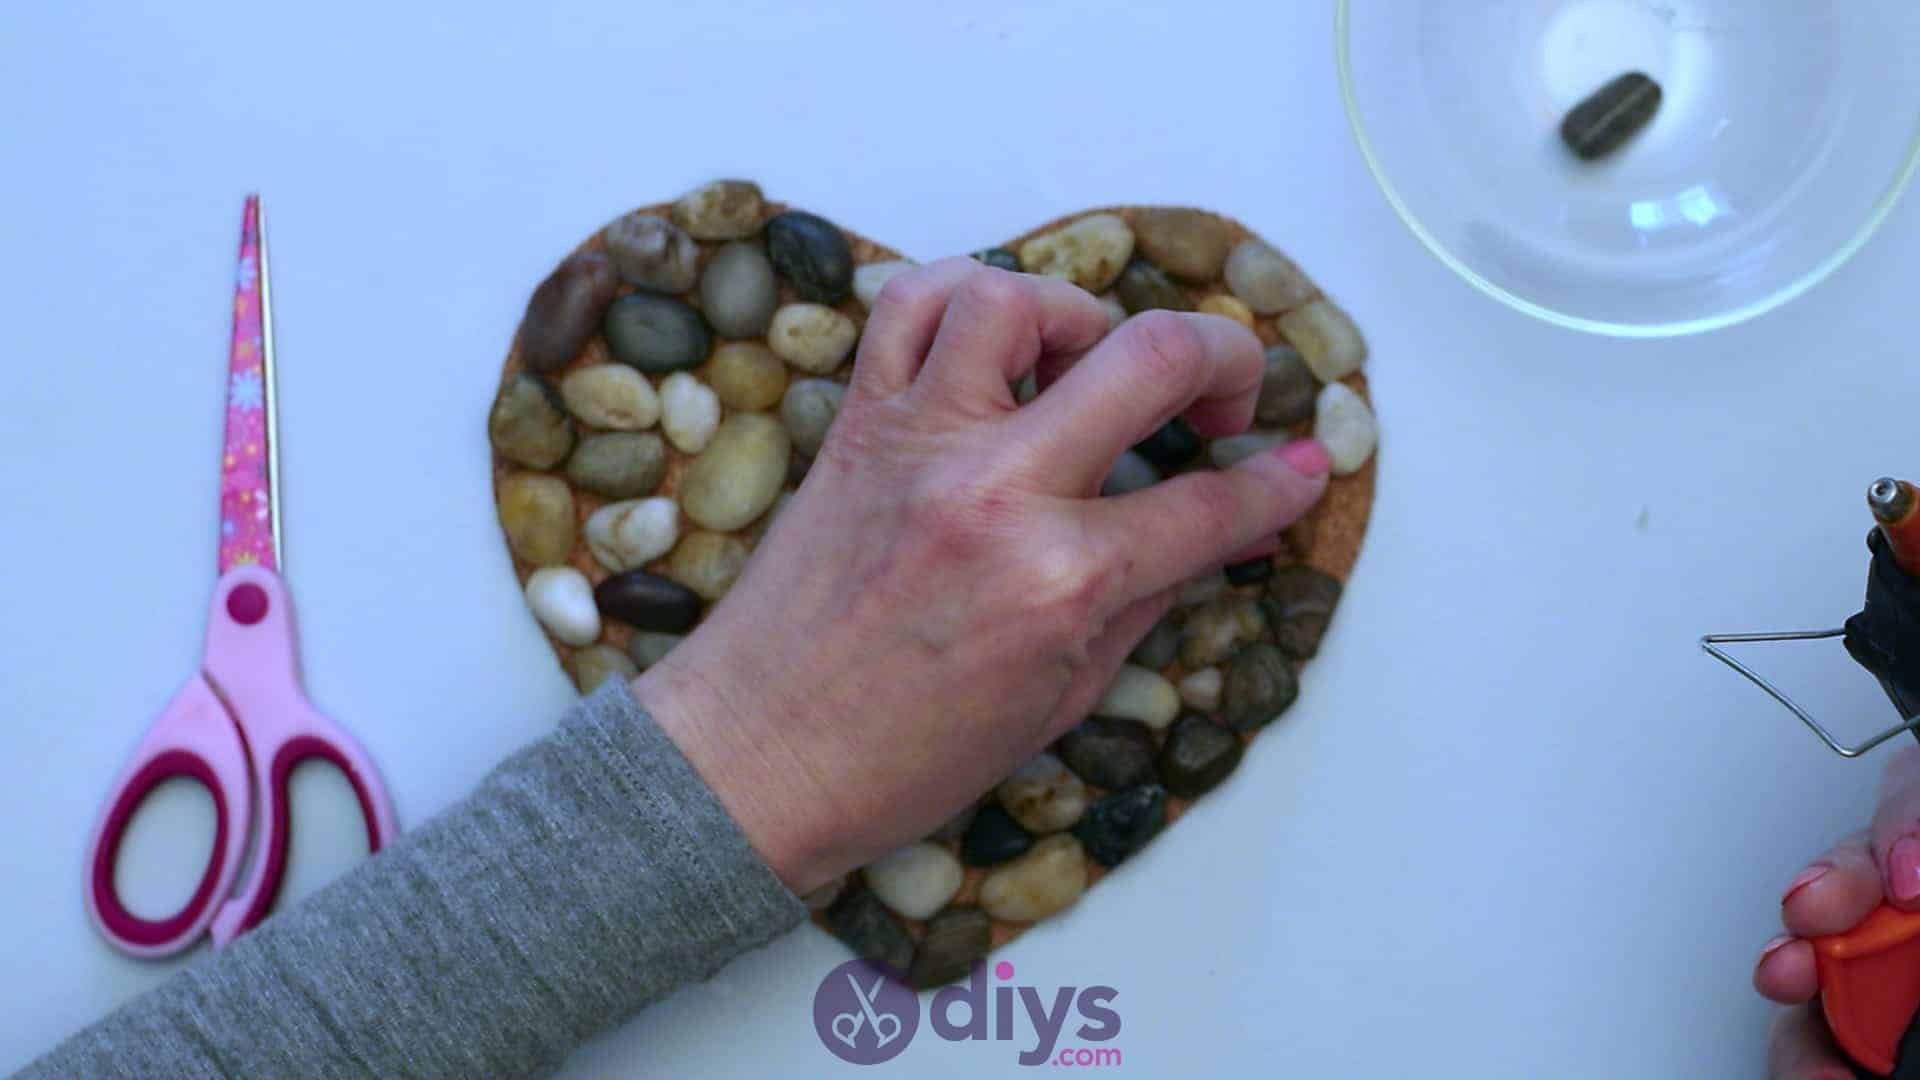
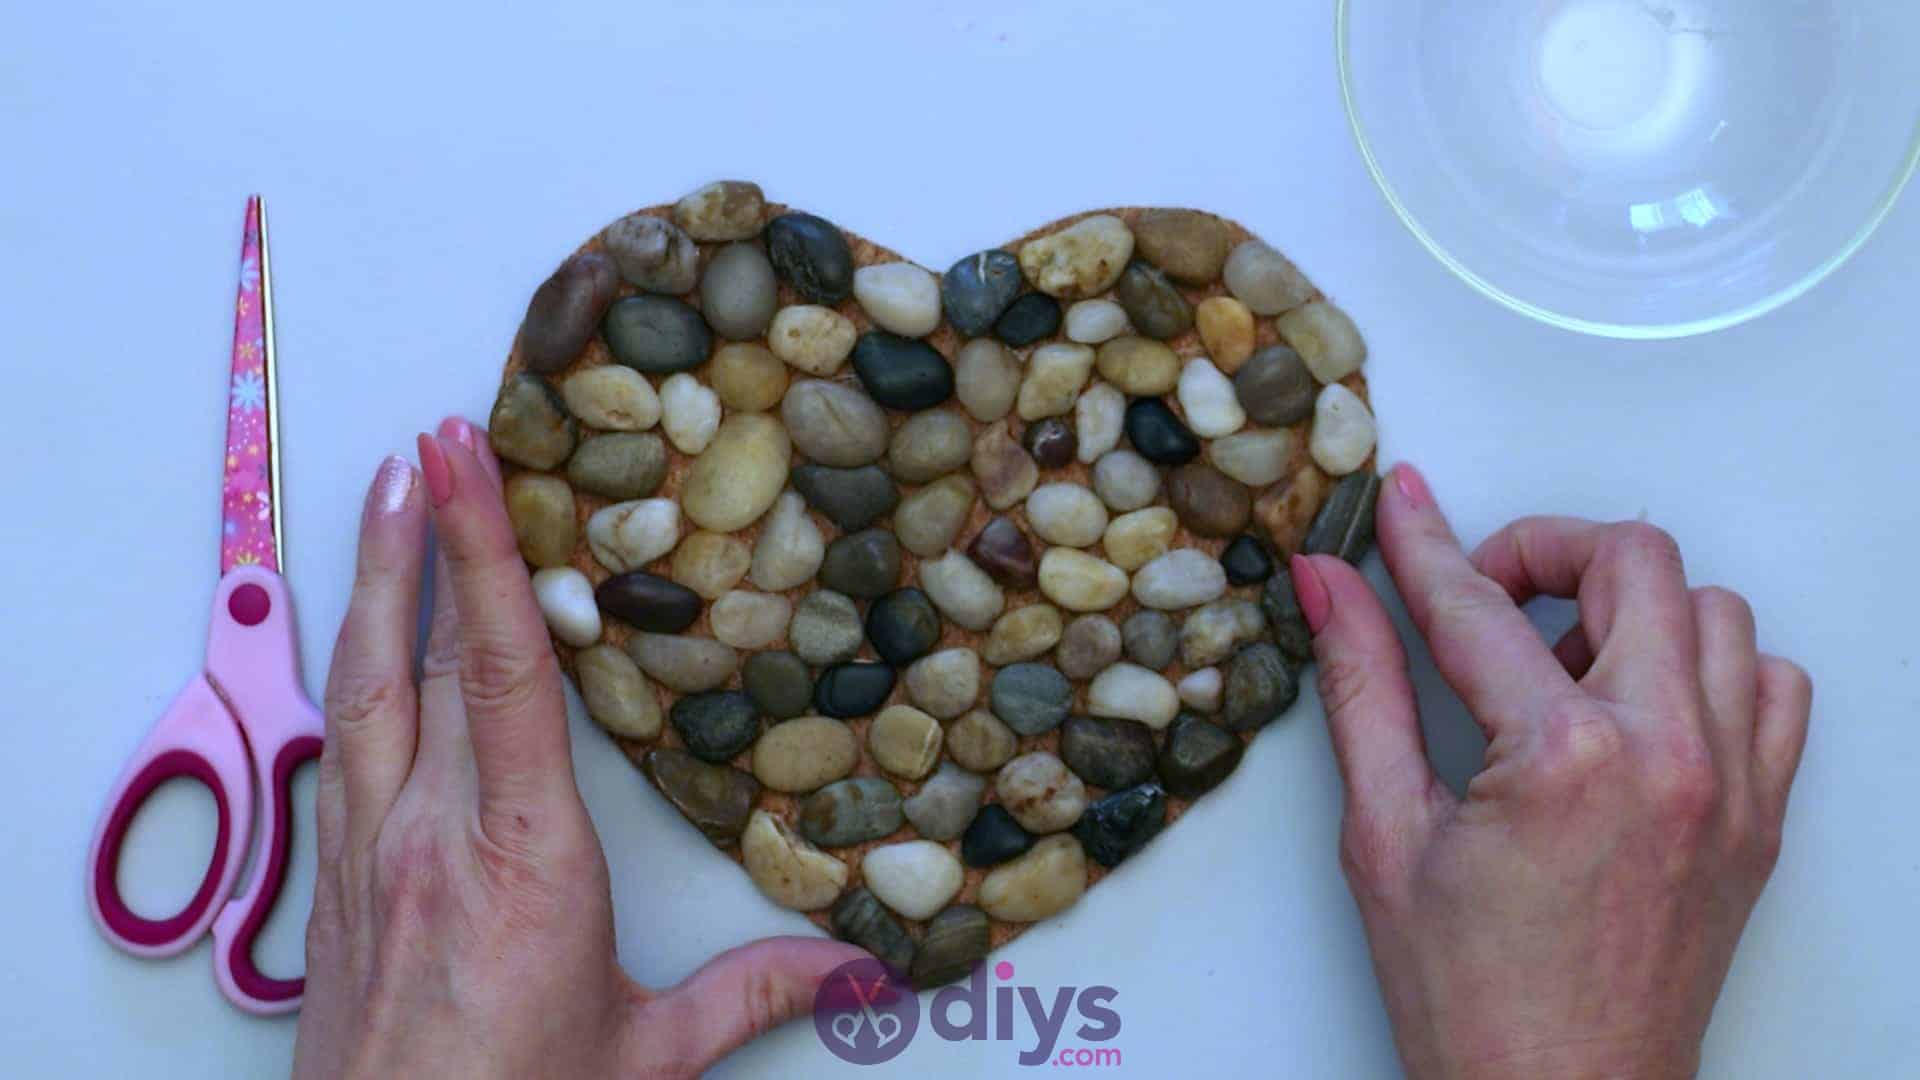
Now you’ll fill the entire surface of the heart with pebbles using your hot glue gun and a mosaic approach! The idea here is to start with an average sized pebble that suits a certain starting point on your corkboard heart well and build around it from there until you’ve covered the whole piece. Feel free to test out the next pebble before you stick it into place to see how it will fit and sit against the first one or those around it as you work. Use your hot glue gun to apply glue to whichever side of the pebble sits best against the corkboard and stick it into place, moving pebble by pebble until you’ve covered the board. Depending on what you plan to place on the underplate, keep in mind that getting as even a surface as possible is a good overall goal.
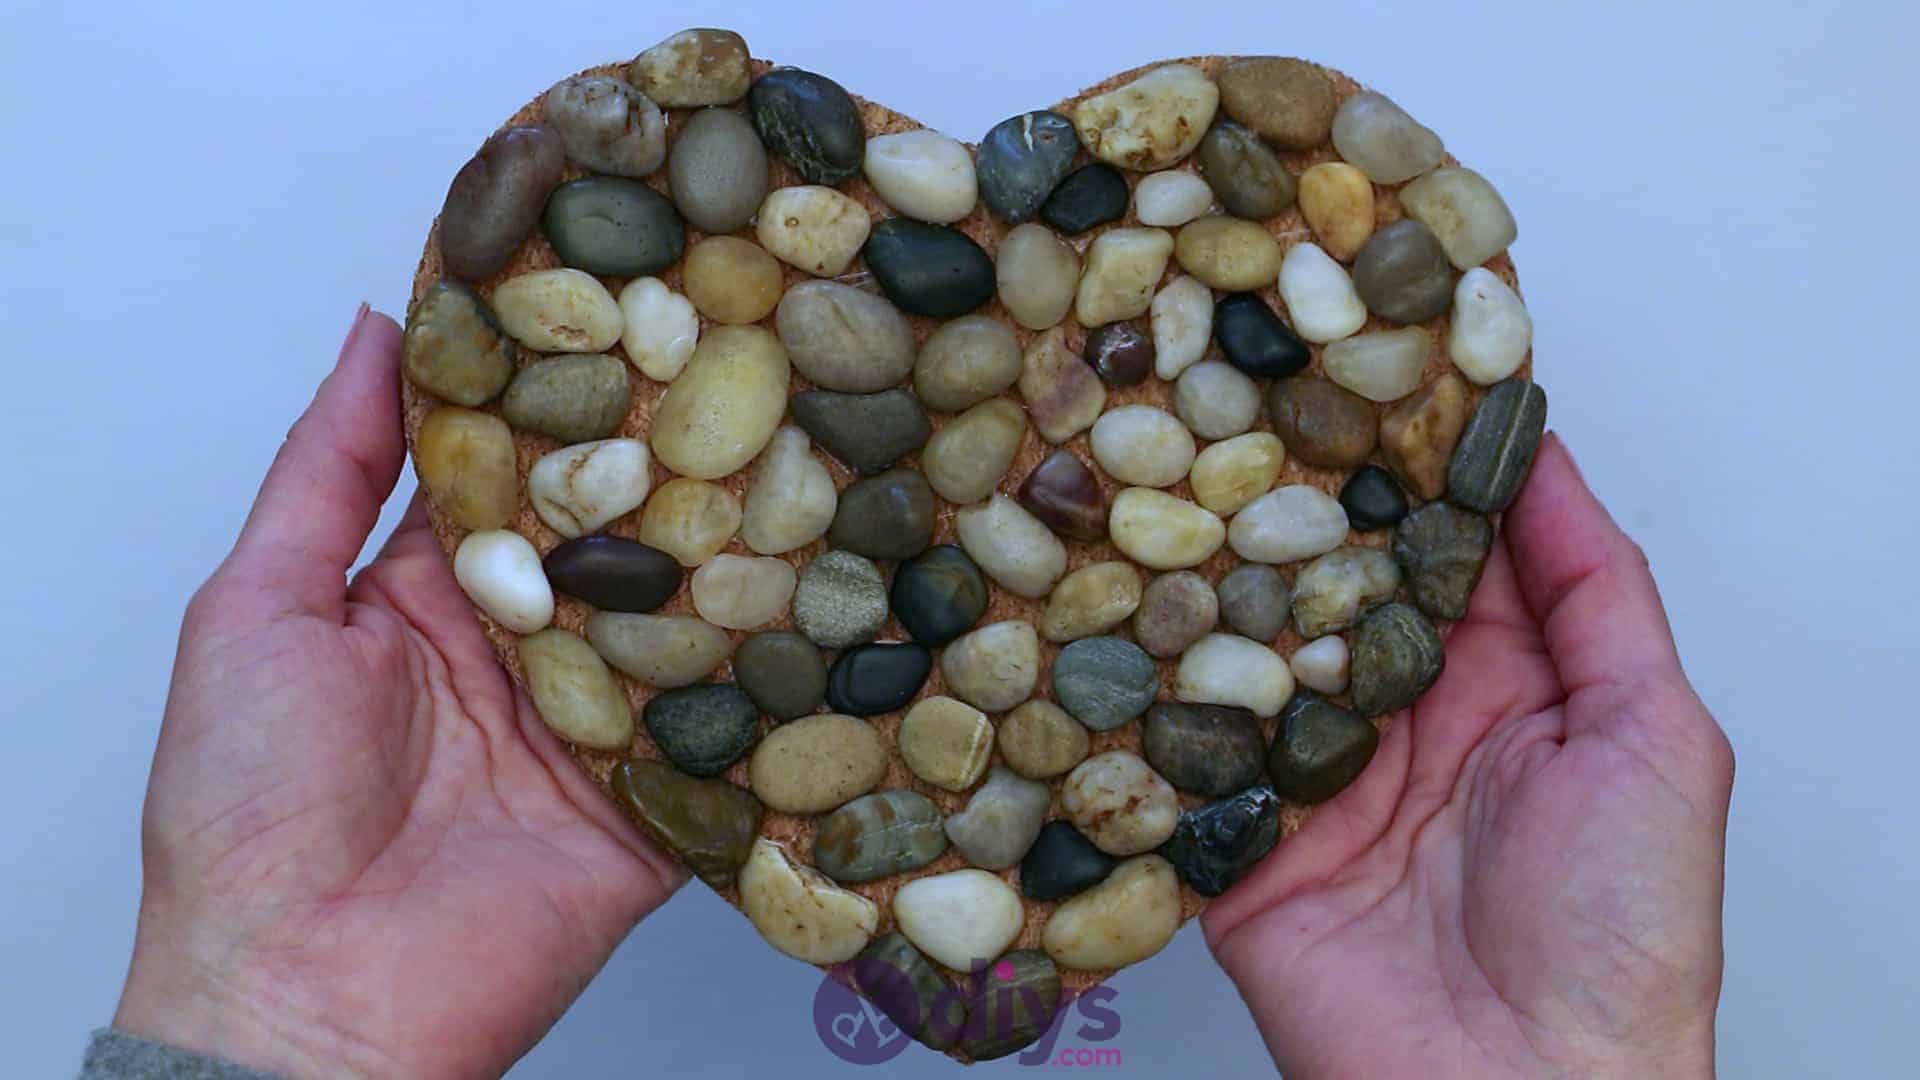
That’s really all there is to it! When your whole corkboard shape is covered, you’re all finished. If you’d like to try this project out for yourself but could still use a little guidance, here’s a tutorial video to help you out.
The post DIY Heart Shaped Pebble Hot Pot Holder appeared first on DIYs.com.


