


Sometimes, you just need an easy win, right? This is one of those projects. A couple months back, I was looking at my guitars and guitar accessories and thought, it is finally time to do something with the neck I’ve had lying around for years. In trying to decide a suitable body for the slapdash guitar I was about to build, I found myself at a tractor supply store for LEGO-related reasons. (Where else are you going to get a bunch of egg cartons without eating a bunch of eggs?) I noticed that they happened to also stock ammo boxes. Bam! It’s sturdy, it opens easily, and it’s (very) roughly guitar body shaped. I happily picked one up and started scheming on the way home.
Having never built a cigar box guitar before and being of a certain vintage, I’m inclined to turn to books instead of the Internet, so I stocked up from the library. Among my early choices was Making Poor Man’s Guitars by Shane Speal, who is widely considered to be the guru on the subject. In flipping through the book, I noticed the beer can microphone project and was immediately taken by the aesthetic of some cool old 70s beer can with a 1/4″ instrument jack on the bottom, just asking for some dirty blues to be belted into it. I had to build one. Or twelve.
What It Is, Man
Now, don’t get your hopes up too high here. This is a dirt simple microphone that is essentially a piezoelectric disk wired to a 1/4″ instrument jack. You will sound like you’re on AM radio, basically.
In this case, the piezo is glued to the underside of a metal lid, turning the whole thing into a contact mic that is particularly hot at the top. There is a little bit of foam rubber involved here as well, which keeps the mic in a happy medium between feedback and sounding woofy, like you’re talking into a blanket.
Gather Your Supplies
 While old steel beer cans may make the coolest-looking microphones, you can make one of these babies out of any tin that’s sturdy enough for the task.
The neat thing about using a tin instead is that you already have a lid, and don’t have to worry about sourcing the right size of Mason jar lid to fit. You can see the complete list of tools and supplies on the IO page, but you will basically need a tin, a lid, a piezo disk, a 1/4″ guitar jack, wire, foam rubber, and some basic tools like a hammer, center punch, and a drill.
Prep Work
If you’re using a beer can, you cannot use it as such — you must remove the lid. This is most easily done with a side-cutting can opener, though you can spend 3-5 minutes sanding it across a piece of 50-grit and then pry it off once you can see the seam, or if you’ve got a belt sander, then bully for you. This leaves a bit of a rough edge, which you can cover with adhesive felt, or else felt and superglue. This really helps friction-fit the lid, by the way.
Speaking of the lid — if using a Mason jar lid, it probably has a white coating on the underside. You will want to scrape this away with some of that 50-grit sandpaper (or whatever you’ve got).
The Basic Plan
There are a couple of steps that must happen no matter what you’re using for the mic body — drilling out the jack hole, and wiring up the guts. You’ll need a 3/8″ hole to mount the 1/4″ guitar jack. I highly recommend using a uni-bit for this instead of a series of larger bits because they make such clean holes, and of course, using a center punch first so the bit doesn’t walk.
In wiring up the piezo to the guitar jack, I used stranded wire because the connection to the piezo is so tenuous. I also used a generous amount of hot glue to secure these connections when I mounted the piezo to the underside of the lid.
Testing, 1-2
I like to test these at every step of the way just to make sure I haven’t damaged the piezo. Just plug it into an amp or a hardware interface and make sure you can hear tapping on the piezo. I will test it as soon as the solder cools, after I’ve mounted the jack, again after mounting the piezo, and of course, during the “tuning” part of the build where I figure out how much foam needs to be in there.
Make It Look the Part
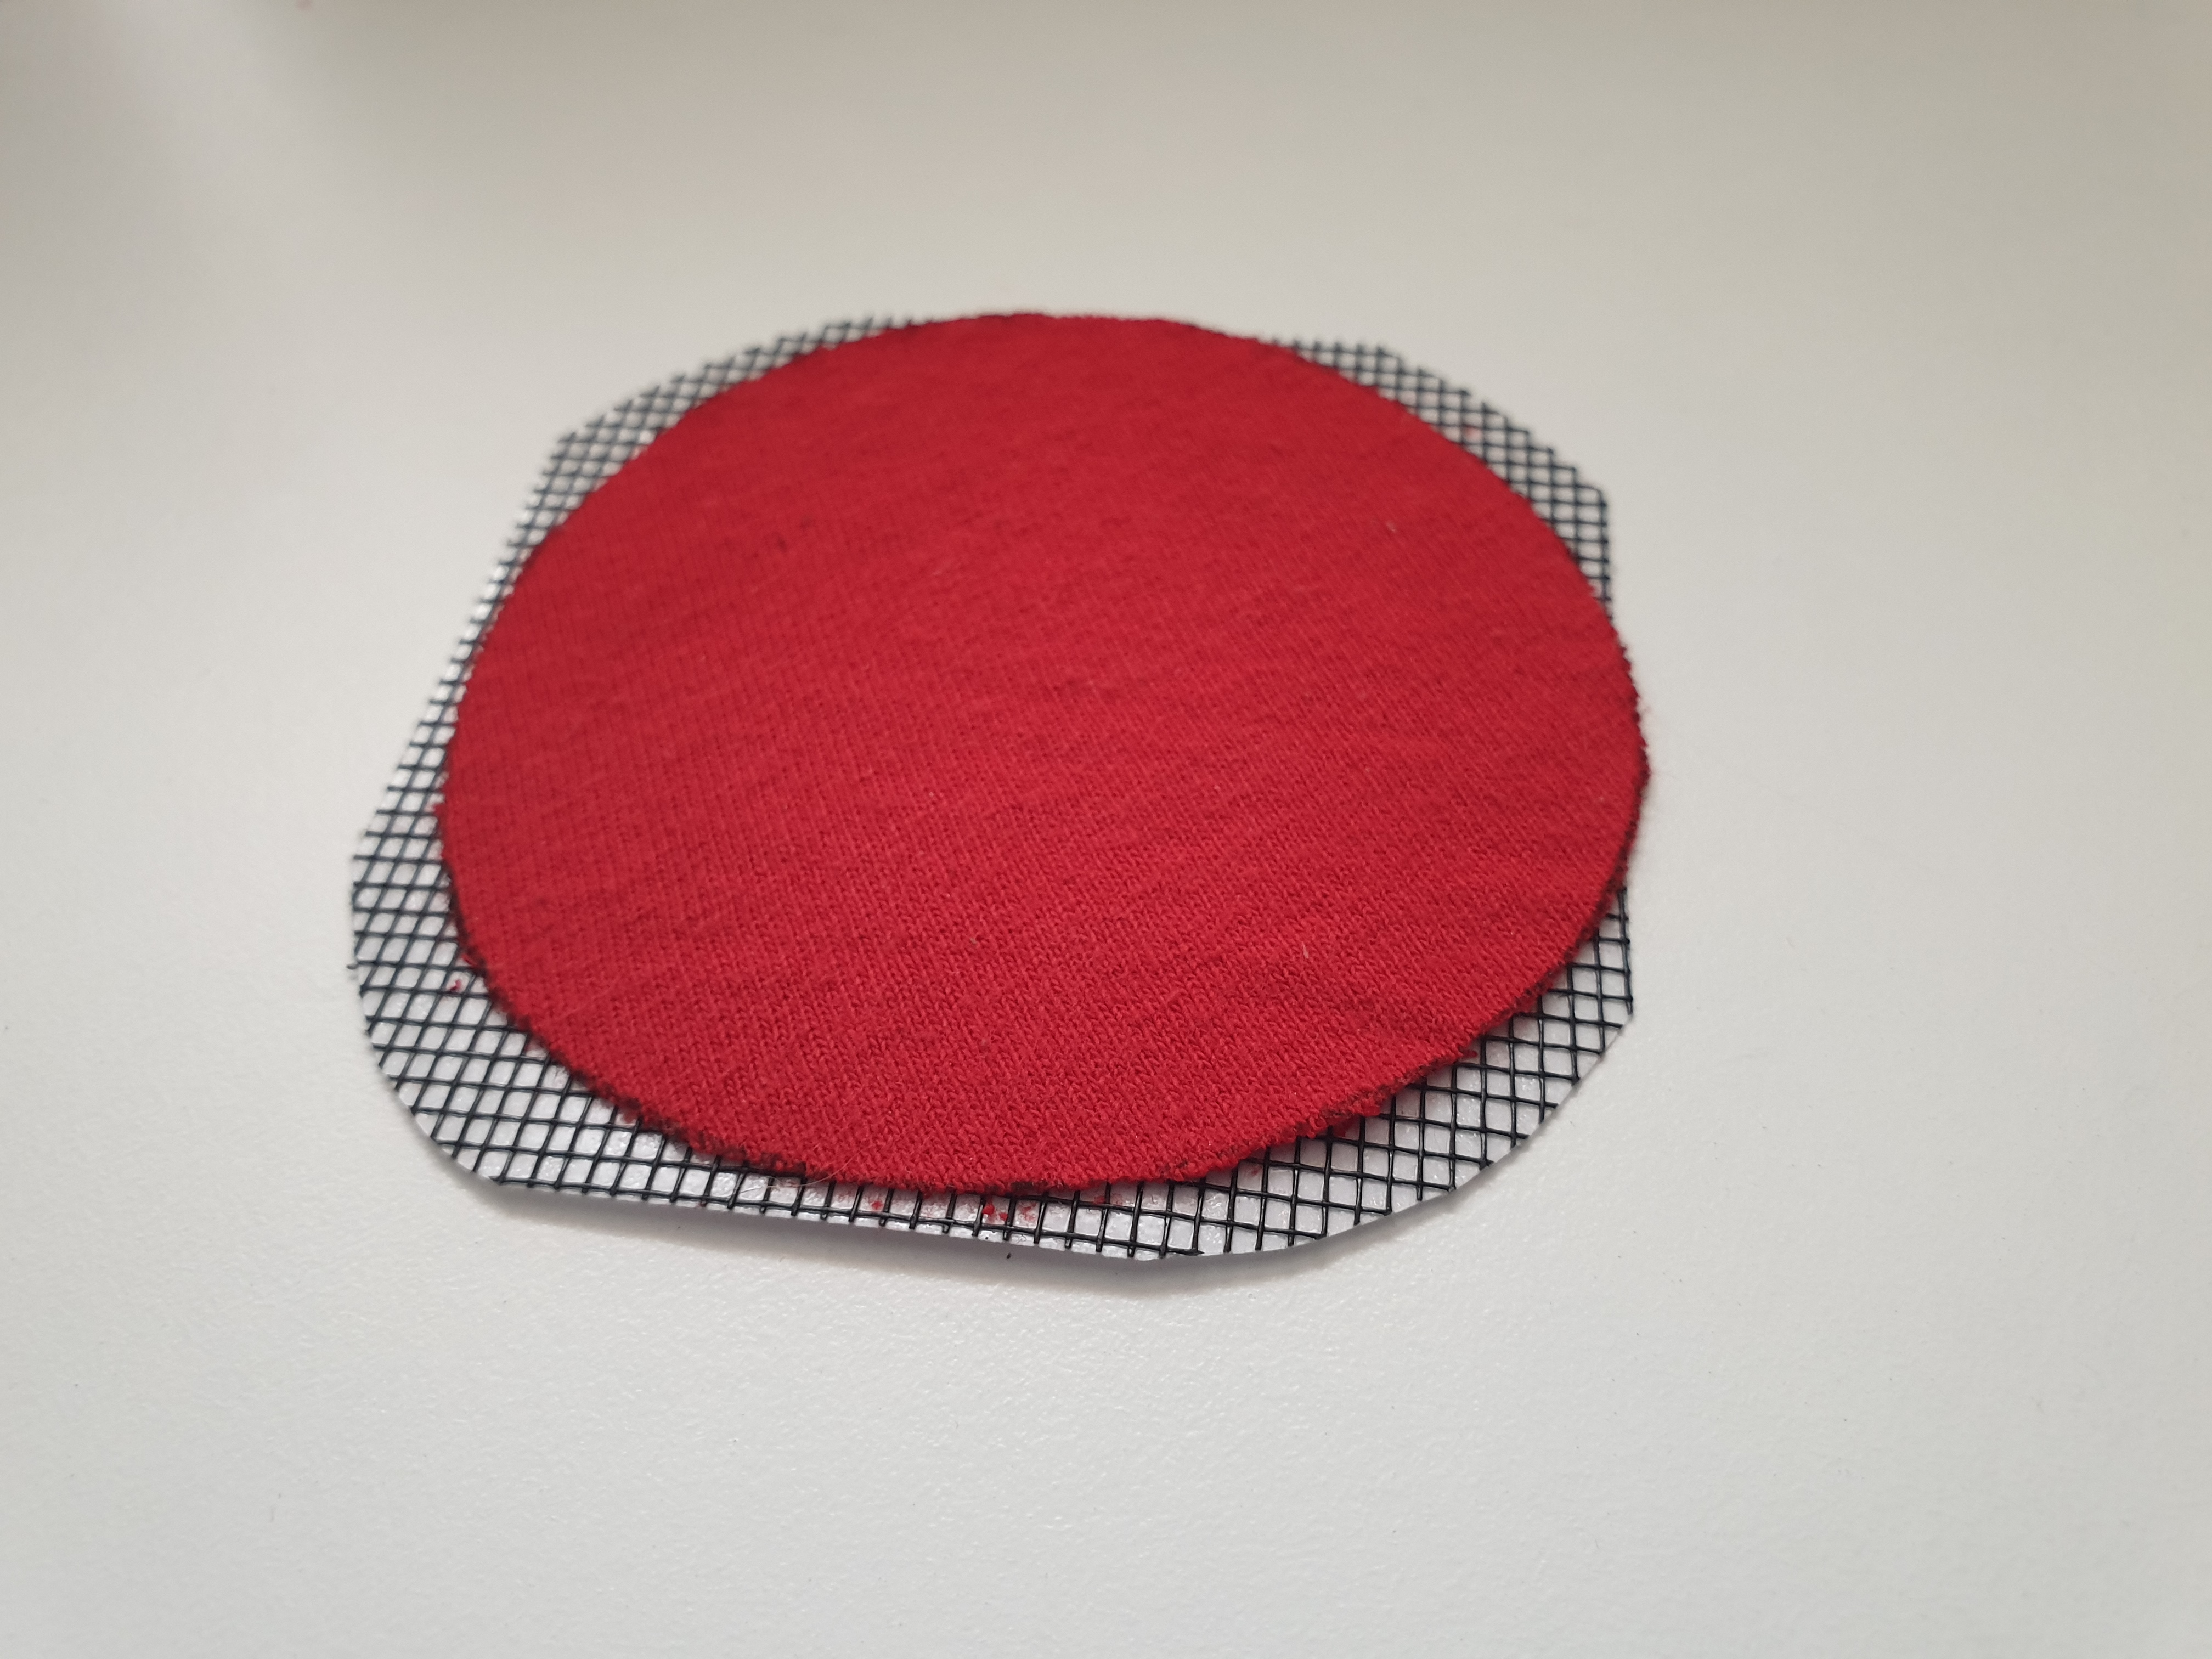
If you checked out the components list on the IO page, you might have seen a couple of strange bits like the red t-shirt and the window screen repair patch. If you’re using a beer can or other lid-less tin with a Mason jar lid in its place, this is where it starts to look like a microphone. Use the Mason lid ring to trace a circle on the shirt, and again to round the corners on the screen repair patch. Flatten the t-shirt across the lid and place the screen on top, then take the lid ring and pressure fit it to the can. It should fit nicely, but we’re still going to close it up and make it look nice. Go ahead and test it again.
Remove the lid, taking care not to detach the piezo from the underside. If you used a Mason jar lid, it is likely that it will al stay together during this process. Cut a strip of foam that is 2″ longer than the can and stuff it inside, then put the lid back on and hold it down tight while you test for feedback or woofy-ness.
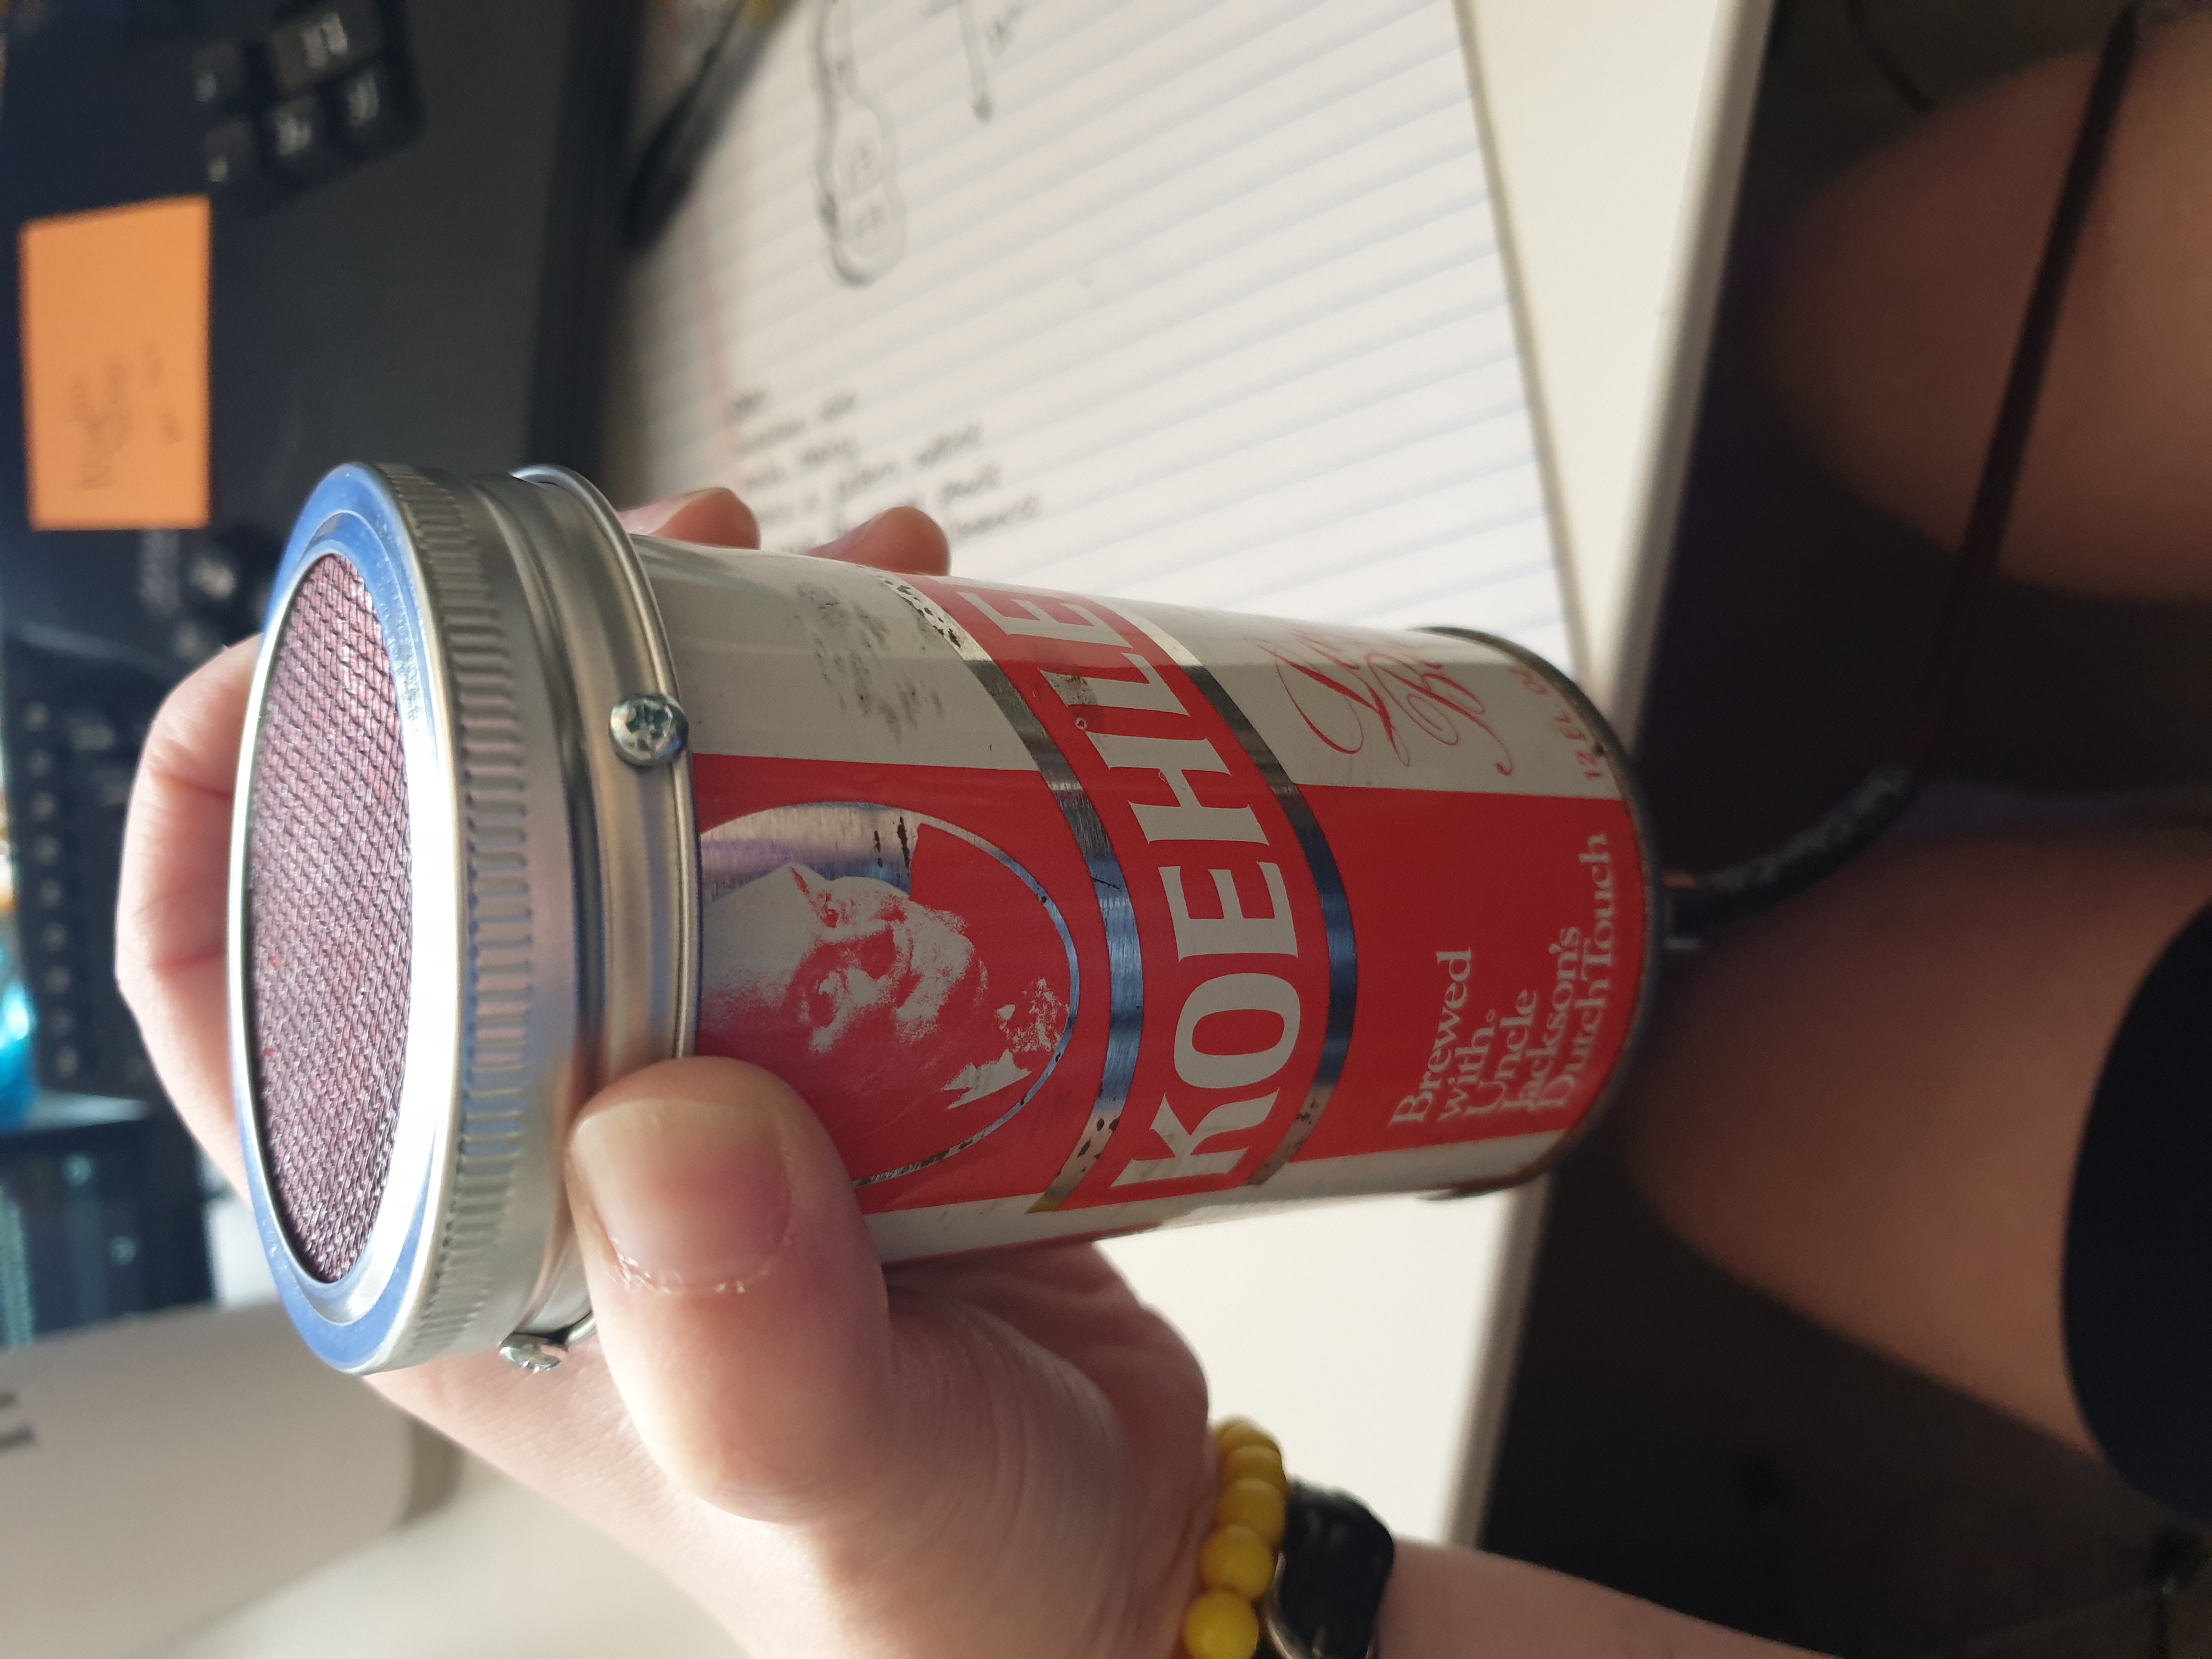 You’re almost ready to rock out! With the lid on and the mic tested and tuned, mark four holes around the lid and drill through both lid and tin with a 1/16″ bit. Then secure the lid with sheet metal screws.
Going Further
I’m pretty satisfied with the way this thing sounds, but there is room for improvement. For starters, I could add a volume pot so that if I do get feedback, I can easily turn it down instead of just ripping out the cable.
Don’t want to hold the mic? Make a stand for it. In order to record that ditty above, I rested the mic on my legume-filled mouse-hand wrist rest, pointed approximately between my sound hole and the guitar’s.
Ideally, I could take this mic places and use it in performance, but I would need some kind of special holder to interface it with a standard mic stand. So use your imagination, and recycle more things in the process (if you can).